
Portraits- in any form, are the best of creations an artist can bring down on paper, infusing his hard work and passion. Nowadays, portraits are no longer confined to drawing boards and touches from the pencil; it has become digitalized. So how to edit a portrait digitally? There are specific popular applications and platforms where the artists can create their digital portraits, which would be different from those on the portrait.
Hence, new doors have opened for the evergreen and vibrant minds of the artists; and there are no bounds to their imagination. However, editing the portrait they drew is another vital step in these digital creations. This is also called “portrait retouching,” and it is quite a tricky process. Here, the artist needs to make his subject look the best, cutting out looking fake.
Here, we make you go through all the steps you should follow that would make editing a portrait look easy for you:-
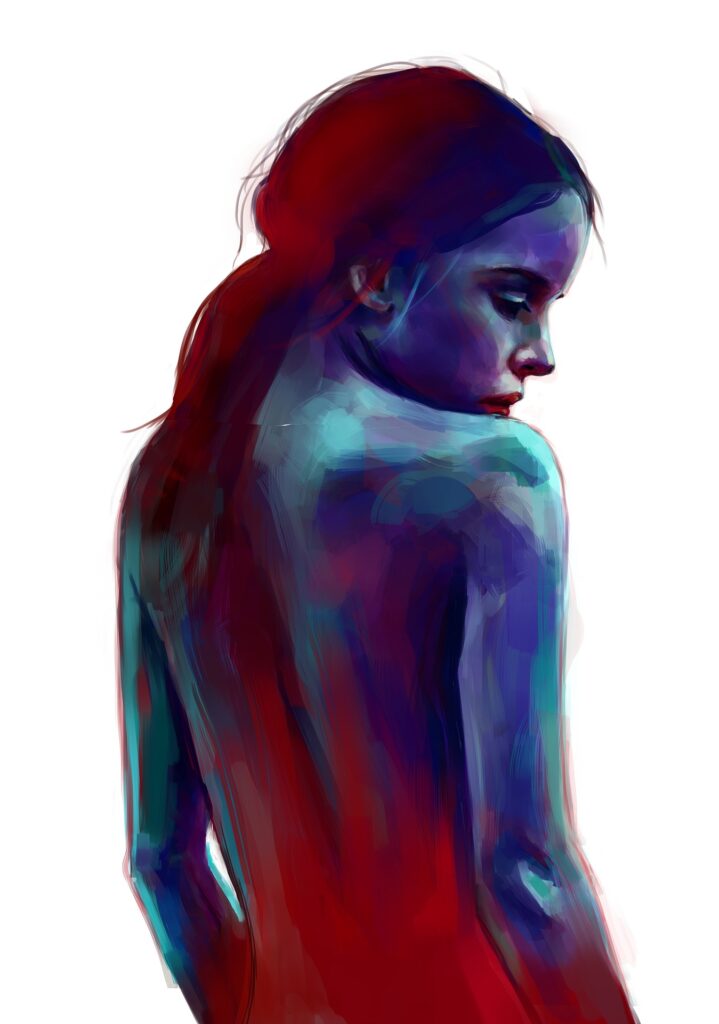
USING GREAT COLOUR
Colors are one of the essential aspects of the portraits you create. They bring your portrait to life. A proper, up-to-the-mark color scheme fills up the first step of how to edit a portrait. Open your picture in the editor and use the eyedropper tool to bring in new colors. It is preferable to drop colors in the white and grey areas for a start. The rest of the colors will find their place automatically. Gaining a good color base is essential to know how to edit a portrait.
CORRECTING THE CONTRAST
The color of your portrait comes in handy with the color contrast that you set. It is 2nd most vital step in the process of how to edit a portrait. Setting the tone, getting the correct exposure, the brightness, and finally, the contrast refines your picture and gives it the best cut. Also, the ones who know their art well and good, playing with other useful features like highlights and shadows, are common. You may hike up the brightness and then introduce the theme of shades to experiment with how to edit a portrait.
KEEPING THE EYES PERFECT
One of the most important aspects of your portrait is the eyes of your subject. They really add up to the beauty of what you create. Hence, making the eyes flawless is a crucial pillar for the steps we follow in how to edit a portrait. Working and refining the eyes is relatively easy in the digital platform. You can use various options available to brighten up the eyes. There are also features like “Lighten” and “Fade” available, which help you give an extra edge to your work.
REMOVING IMPERFECTIONS FROM THE SKIN
Whenever you paint a portrait, putting the skin perfect is one of the essential things your subjects want you to do. It is another important aspect on which the value of your portrait depends. Here, you can implement the “Blemish fix” feature available in the applications to perfect the skin tone and adjust the colors. “Blend” is a pretty handy tool for use to remove spots and lines without affecting the contrast around them. It also leaves no mark behind if any error occurs.
POLISHING THE PEARLIES, USING TEETH WHITENER
Once you are done perfecting the skin tone, there comes another vital step in the process f howto edit your portrait. It is whitening up the pearlies or the teeth of the subject. You need to handle this carefully, as you don’t want your portrait to look unreal. So the “Fade” feature of the tool and the eraser becomes your friend here. It would be best if you used them with precision to mend up your portrait, also making it look natural at the same time. Your subject shouldn’t be seen smiling artificially.
FINISHING TOUCHES
If you have read down till here, you have got a comprehensive idea to edit a portrait. Now we take you the final steps that you must follow to make your portrait stand out from the rest.
SHARPENING
Have a good look at your photo before you go towards the final step. If all the other features you introduce and the changes you made look alright, come down to the sharpen option in the edit tab. Sharpening is the feature that makes your photo look bright and polished. But you must remember, overusing the feature may give your image a crystallized look. You must use it efficiently to bring your photo to pinch perfectly. Also, while sharpening, you can make use of the “clarity,” and the “fade” features to bring in the perfect focus.
STRAIGHTENING
Once you are done with adjusting the clarity and the brightness of your portrait, there comes the penultimate step in editing a portrait. This process is called “Straightening.” This option is available in the Basic Edits tab. This feature helps you correct the misalignments and align them accordingly to the grid lines which appear on the screen. There mustn’t be any uncanny tilts in your portrait. Any such wrong alignment would make your portrait look unworthy. But once you have aligned it all right, by adjusting it to the grids, rechecked the alignments, your portrait starts looking trustworthy and beautiful.
CROPPING AT DIFFERENT SIZES
Cropping the portrait in the last aspect, or the final rule, you must follow to edit a portrait methodology. Here, the subject might want his portrait altered at certain places and sizes, as it might get uploaded on social media platforms or Linked in platforms. So, there is a process of cropping., using which you can create a variety of crops. The tools you use have a resize feature, which handles all the cropping. It is used to view the portrait in different shapes and sizes, adjust the aspect and pixel ratio, and finally end how to edit a portrait like a pro.
WHAT ARE THE TOOLS WE CAN USE?
Choosing a proper tool or application to handle all the editing and making it easy is of primary importance. There are many applications available in the google play store; here are a few names of them. These are easily accessible, robust, ambiguous and make editing a portrait an easy job.
- PicMonkey
- Lightroom
- Picsart
- Visage
- Pixelmator
Finally, til here, you have gone through all the steps you need to follow to edit your portrait. Still, there is one basic rule; you need to be yourself and accurate. A few subtle changes can be made using the brilliant features at hand, but we should be careful about them. We should not get too lost in editing that our portrait starts looking unreal or fake.
All the applications listed below, along with the given steps, will make editing portraits a breeze for you. This would help you flourish as an artist and help you stand out. So mind what you learned and let your portraits go on a roll.