

When we speak about photography, picture editing becomes an integral necessity. Editing a picture after being taken is what we call post-processing. This is when the quality of the clicked picture begins to take shape. If you decide to post a picture without editing it, it is probably not going to be at its best. Every photographer these days apart from learning the art of clicking beautiful pictures also has to know how to alter the parameters of the image to pop brilliance out of their work. Now, this requires a good device to start with. Next, really efficient software that doesn’t destroy the quality. There are way too many picture editors out there and being unfamiliar with which one to go with is driving a lot of people crazy. Let’s see how to choose the right picture editor by understanding the ‘must-haves’
There are 2 important things that you need to make yourself aware, to begin with.
- The basic edits
- Use of effects
The basic edits
As the name goes, there are few basic parametric changes that the picture editor must offer. I prefer to have brightness, contrast, shadows, highlights, sharpness, crop and rotate in my editor as they are most useful when it comes to editing your picture while trying to keep it original. Most photographers like me, who are focused on an original portfolio, would most likely play with these edits.

Brightness
Hard or bad lightning in a picture that has already been taken can be corrected with this feature. It is the most basic of all edits and is required almost all the time.
Contrast
To avoid your picture having a very dull look, this feature is mostly altered. Contrast in a dull image can be increased and decreased if a faded effect is preferred. As I have mentioned in my previous article about the nitty-gritty of editing, editors tend to overkill an image with this feature and a trained eye is needed to know how much is too much.
Highlights and shadows
Very similar to contrast, this feature lets you alter the highlights, which in other words, the bright areas of the image, to go up or down. Shadows are the darker areas of the image and it can be treated the same way highlights were treated. This is the most sort out feature as it lets you have the power of altering a specific area without damaging the parts of that image that don’t need it. I use this feature in almost all my edits. Especially to get the silhouettes right.
Sharpness

Sometimes the pictures that were taken lack in detail. This can be due to many reasons and, the most obvious is, the inability of a lens to capture what your eye can see. Sharpness can help you give distinct details to an image that was correctly taken, but, with probably a budget camera. Maybe like a mobile phone. Keep it as a thumb rule to never use this too much on a human face unless you hate them as it will try to bring out the blemishes in the skin. On the contrary, using this to a certain degree can help you bring out clarity in the face. Again, a trained eye is all that you need.
Crop and rotate
Cropping an image becomes very useful when you have undesirable objects and scenes in the clicked picture. While there are fancy crop features available like ‘shape crop’ and ‘aspect ratio crop’, it is a mandate for any picture editor to have ‘free crop’. ‘Free crop’ let’s crop an image from all the sides to the desired rectangle (or square). Rotate option lets you rotate the image from 90 degrees (left/right) to 180 degrees and this becomes very handy when you have clicked a picture in an undesirable orientation or if you choose to experiment with optical illusion.
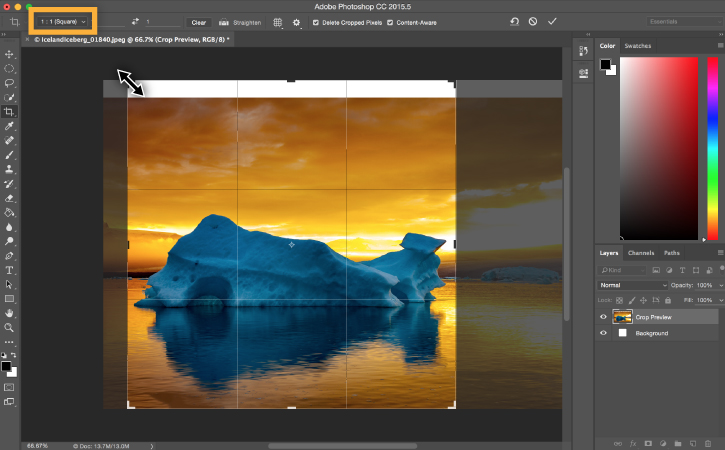
Click here to crop or rotate your picture using our online app – Hey, It’s free!
Use of effects
Now this is the part where, stereotypically, most girls get excited. Effects is a very common word used to describe a change. Here in picture editing, using filters, adding stickers, free hand sketches, adding frames and texts are what we call effects.
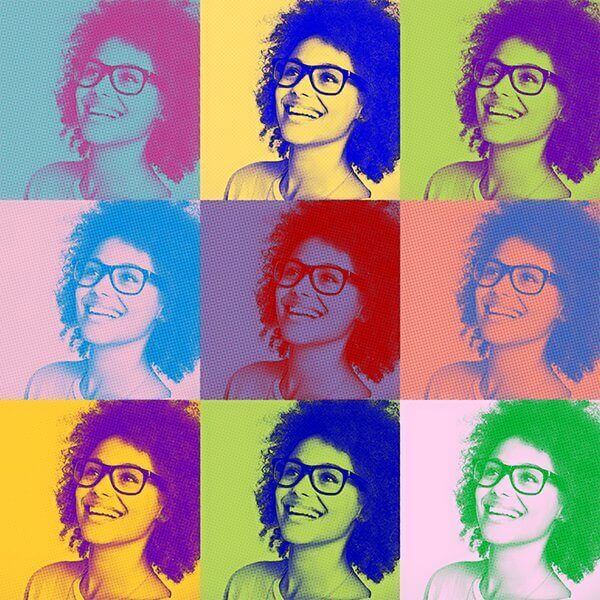
Filters
A filter is a layer that filters out light in a very specific way to modify how you look at an image. There are way many filters to even give you a number, and this helps you add a cosmetic touch to your picture.
Stickers
Googly eyes, funny emoticons and personality logos that are cartoony can be added to your pictures to personalize it to your style.
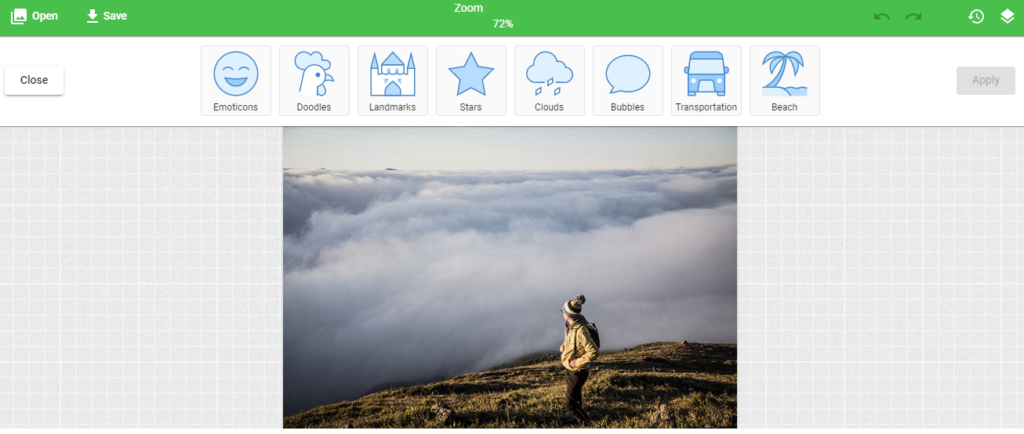
Freehand sketch
Although not many people would even know this exists, I consider this to be a very useful tool as there are many brushstrokes that can be helpful in adding details to an image. Artificial bokeh effects and funky border strokes are few that our picture editor offers.
Frames and texts
Bold nostalgic lines to having thematic borders, a frame can beautify a picture instantly. Owing to digitization, this effect is the only way to add borders. Instagram has hit the world with the craze-wave of adding fat text to their images and this trending now. People started adding texts to their pictures to explain the location or to add an expression. Making it colorful and animation is also a possibility however, a basic feature of adding at least plain text in the black or white font is much needed these days.
I have covered most of what I think is a must-have feature in a picture editor. Do you like the content? Or think I have missed something? Leave a comment below!
Click here to start editing your picture using our online app. It’s fully free and has really interesting features like adding rounded corners, applying patterns and gradients, photo manipulation, and most importantly adding stickers, frames, and texts.
Since it uses naïve HTML5, you can use it from a computer or from a mobile device!