
“And if you, O poet, tell a story with your pen, the painter with his brush can tell it more easily…” said Leonardo Da Vinci. While any writer including myself would disagree with that on different levels, I still, to an extent, think it is true that an image helps us process details much better than any other form of communication. Photography is another art just like painting where the person who is clicking an image makes others see what he or she sees. “You should have seen it!” probably would have been a popular phrase up until the early 18th century as there was no equipment to capture the moment. Nicéphore Niépce, a French inventor, however, changed that by inventing a device called the camera. The possibilities to click beautiful images these days have become easier with the evolution of high tech digital camera devices and it has empowered people who sometimes don’t have any idea about their potential. Even the common man can master the skills of photography these days owing to the introduction of the super devices called ‘mobile phones’. As a matter of fact, some people pursue photography as an everyday hobby and others are more serious about it by making a full-fledged portfolio on Instagram or such social media. Whether you own a high-end DSLR or a mobile phone that is a couple of years old, probably with outdated specifications you can still be a photographer and I am going to show you how.
Post-processing! Yes, that is the key. All those beautiful images that you find on a professional’s portfolio didn’t come right out of the camera. That contributes to 50% of photography skills. However, there are two things that are required before you start processing a picture. The raw image and a good photo editor. Post-processing is hugely dependant on these three factors.
The raw image
Let’s face the fact guys, you cannot use the best photo editor in the world to make a horribly clicked image into a beauty. If that is the case any software geek can master the art. A rich photo can be edited to make it richer and that is all that you can do. Yes, there are online photo editors that offer transformational corrections but they have their own limitations.
Choosing the right equipment
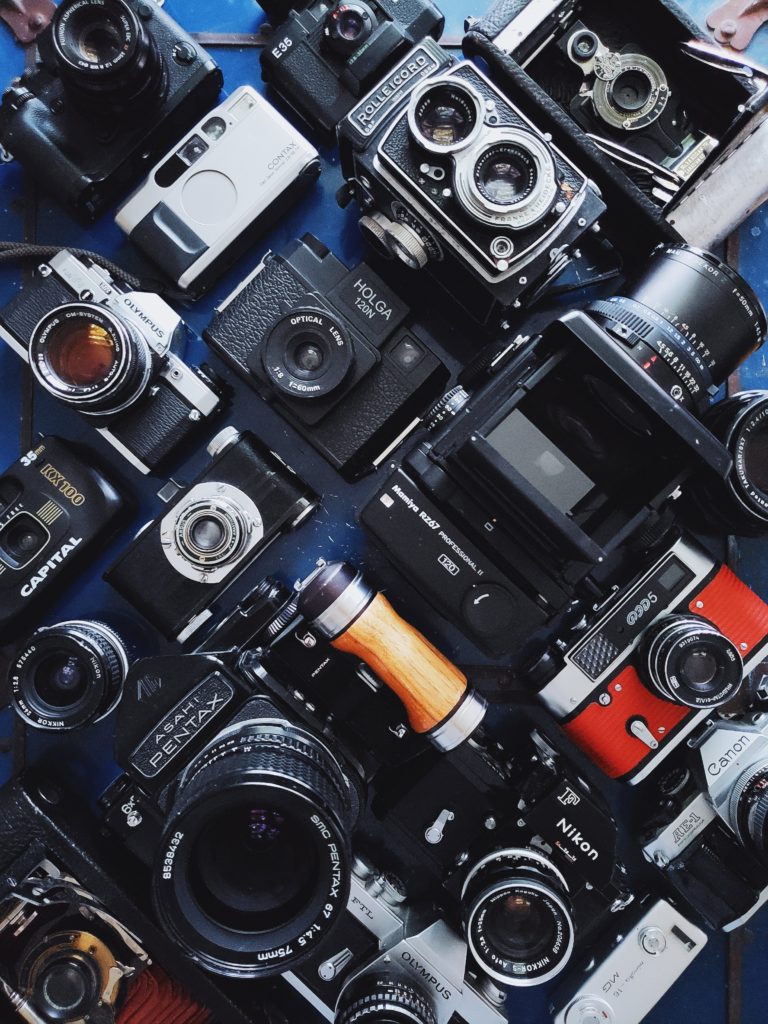
Picking the right equipment can be cumbersome considering the plethora of choices. However, narrowing down what you need may give you pragmatic results. A budget camera can be purchased in the form of a decent mobile phone or it can go up to a DSLR in the lower price spectrum. You can go as high in the budget as you want to get the right quality picture. Optics, sensors, aperture, shutter speed and ISO are the five aspects that define the quality of a raw image. Selecting a device that is capable of delivering the best outputs in all five aspects would be the most recommended option.
Having an eye for it
It doesn’t matter how many filters you use, if you don’t have an eye for it, you’ll never reach perfection. Angles and perspectives are the fundamentals here. The amount of background and foreground, light sources, styles of framing, leading-edge, and symmetry is going to define a lot of things in your picture.
Source: Photo by Christian Mackie
Photo editors
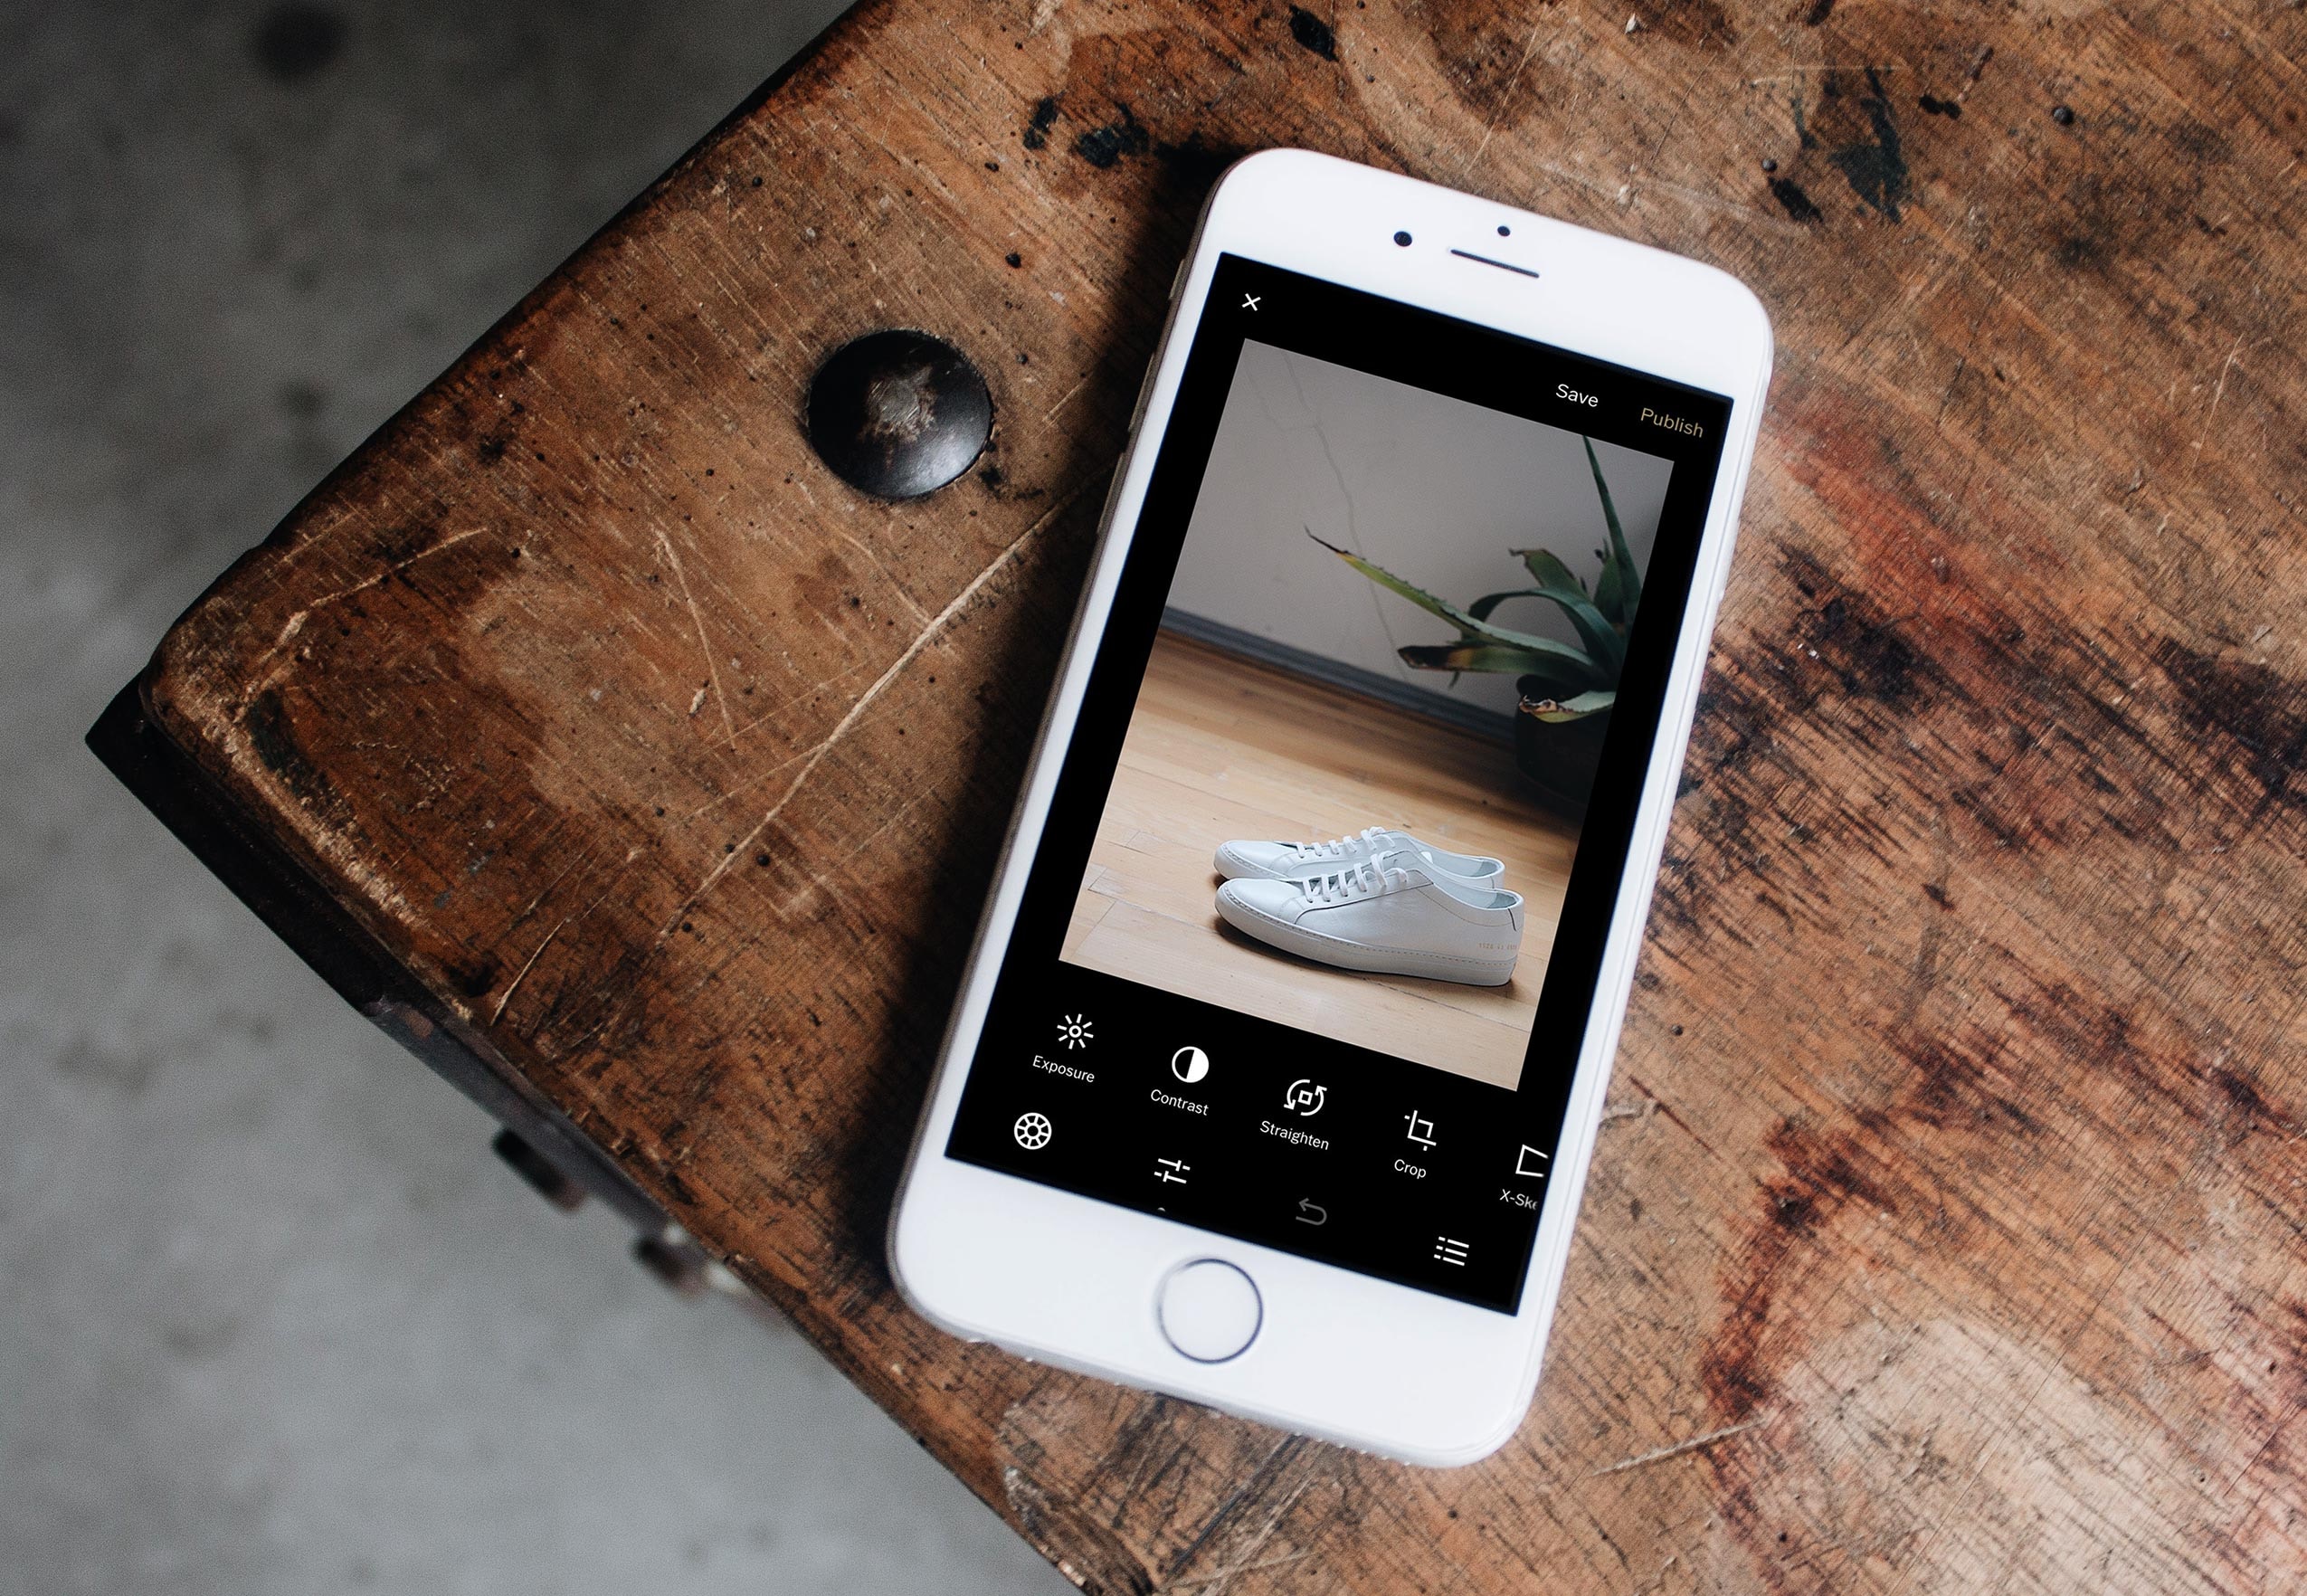
Photo editors are just software that enhances the beauty of a raw image. There are many photo editors both online and as a computer or mobile phone application and the diversity is vast. But all that you need to know is how to use the right tools. It doesn’t matter if what you are using is a free application or it requires you to pay a hefty subscription, there are some rudimentary adjustments that will help your picture pop out without much of cosmetic changes. One can give pointers on how to use them but it all boils down to how you want your picture to look like. Before starting with the editing process, have a strategy in mind or you are probably going to waste your time tweaking. Let’s see what each feature does in order to use them effectively.
Brightness
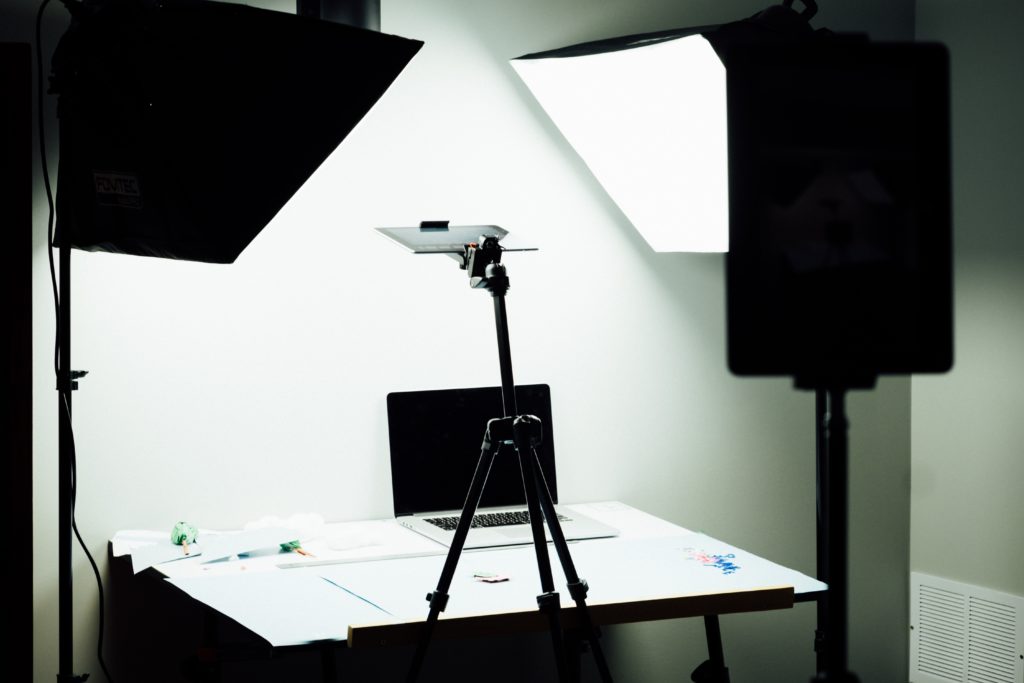
If your raw image had to be taken in bad lighting or in slightly hard lighting, you can correct it using this simple tool. Brightness is going to help you change the intensity of the light source in the image which most of the time reveals the lost colors. Keep in mind that only certain high-end applications are going to help you with proper spot corrections while in basic applications you get to increase or decrease brightness uniformly throughout the picture. Any overexposed pictures are very hard to correct since it just has a splash of light and no details.
Source: Photo by Dose Media
Contrast
This is one of the features people usually mess up by overdoing it. You play around with the highlights and shadows of a picture to direct the viewer to intentionally focus on something. If you overdo the highlights the picture is probably going to get hazy and if you overdo shadows you are distracting the viewers from seeing the right object.
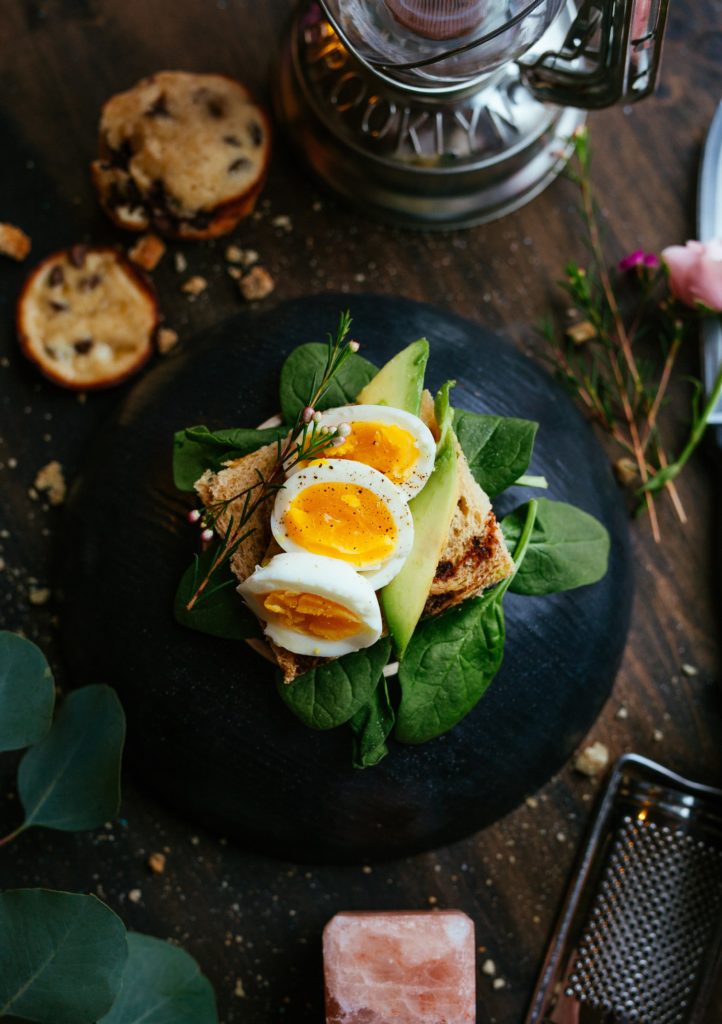
Saturation

This will bring out the colors or pushing it all the way to greyscale. I personally love greyscale images but what I cannot stand is oversaturation. It destroys the image and makes it look very unnatural. The idea is to retain the originality of the raw picture and use the spectrum to pick a sweet spot.
Source: Photo by Alexander Mils
Sharpen

It’s quite common to have a raw image with smudges. Any photo looks attractive if it has some character to it so you use sharpen features to make the details like lines, spots, definitions, etc. more evident. Doing this to a human face may not be a good option is my opinion unless you are shooting a model with flawless skin.
Experiment with as many features as you can with a picture editor but remember, Da Vinci also said: “Simplicity is the ultimate sophistication”. It’s all about making others see what you see through the scope and what better way to do it than by keeping it simple?
One comment