
Anyone who wants to shoot an image wants it to look perfect. Anyone with some money and interest in photography can get access to a great camera. But this doesn’t guarantee that the pictures will look great. The good news is that we are going to give you some really interesting tips and tricks to take you to another level.
Having a clean lens
Photography is the process of capturing light. If you have any questions about this, you may have to understand the fundamentals of photography. So, what you capture in the camera is what goes inside the lens. A smudged or scratched lens is probably going to make the photo bad. Scratched lenses need to be changed which will burn a hole in your pocket. The general advice is to always use lens cases when the lenses are not in use. Having a clean microfibre cloth like the ones that you get with spectacles or shades is going to help you clean smudges on the lens. Be careful not to use a dirty microfibre cloth or a normal cotton cloth to wipe your lens which will start scratching it.
Sturdy hands and right shutter speed
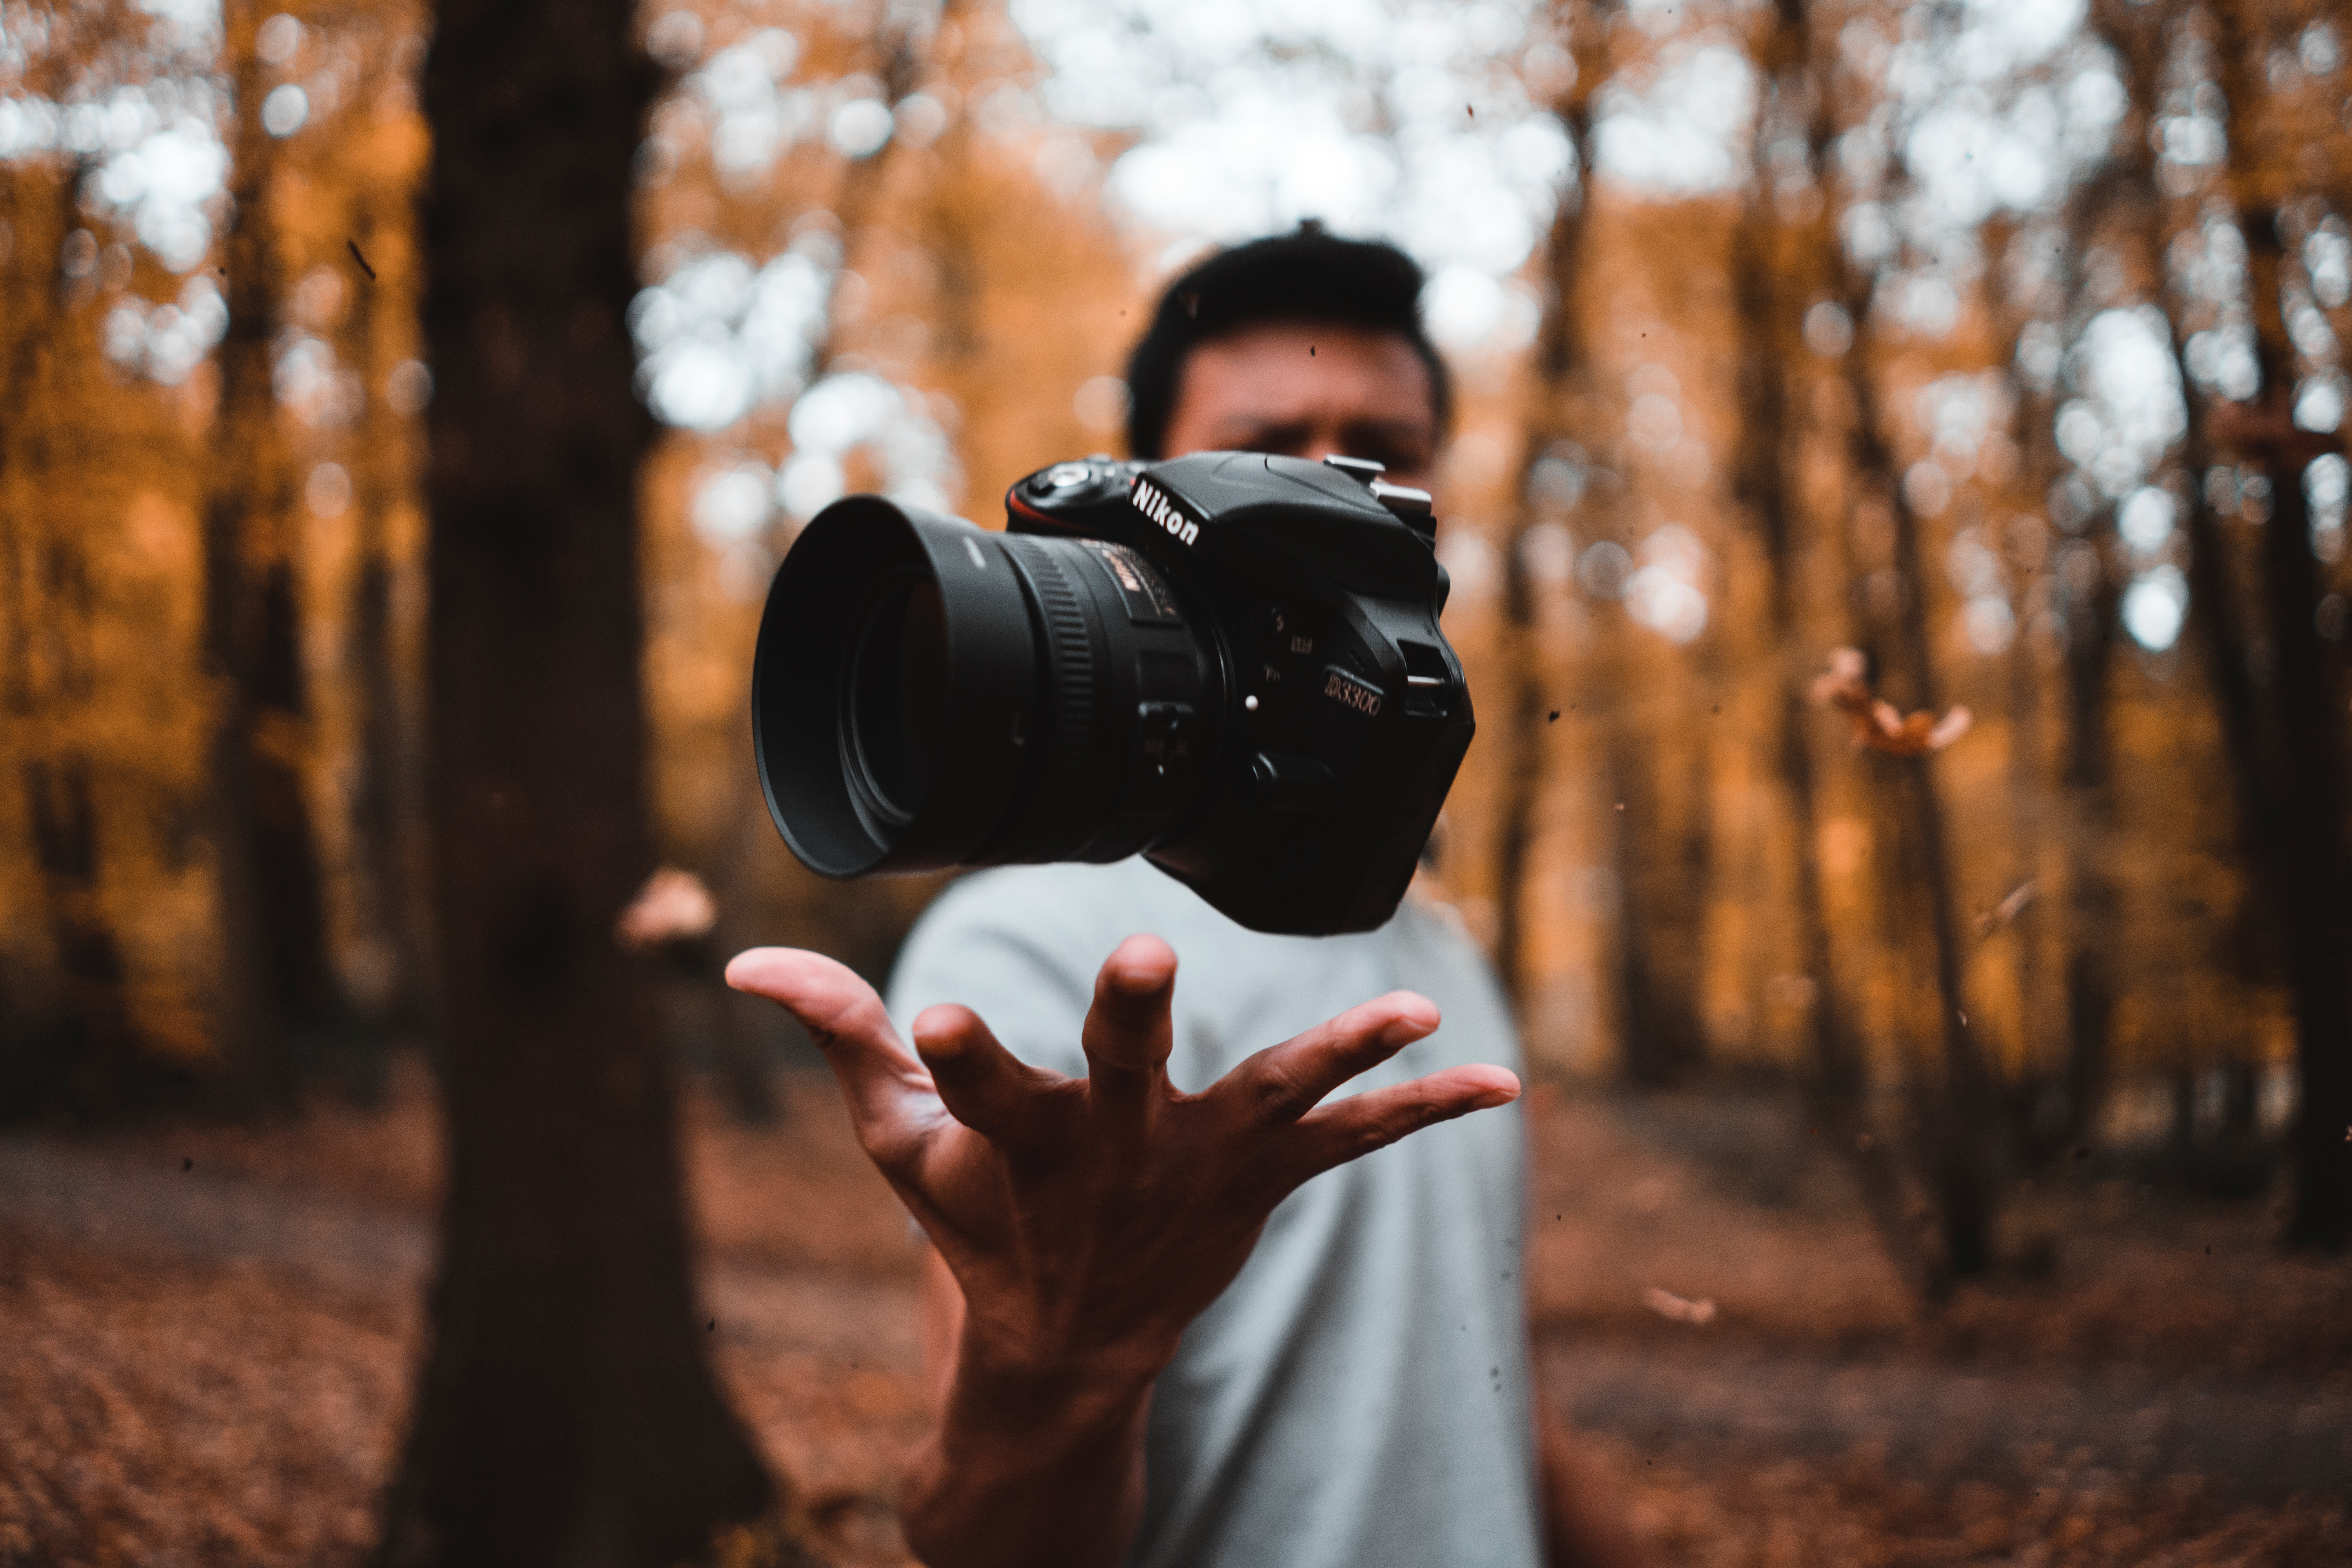
We all have faced this situation where we wanted to get that one picture rightly clicked within a very little time we had and, in a panic, ended up clicking a photo that looks like an oil painting smudged by Mr. Bean. Well, I cannot forgive a photographer who doesn’t take time to learn the art of holding the camera. It’s very simple – just use both your hands. While you hold the body of the camera with one hand, the other hand must be holding the lens in case of a DSLR or such cameras and, try not to keep a minimum shoulder flexion and keep your arms close to your body where they have a place to rest. This provides better stability (DUH!). This works both for DSLR cameras and mobile phones.
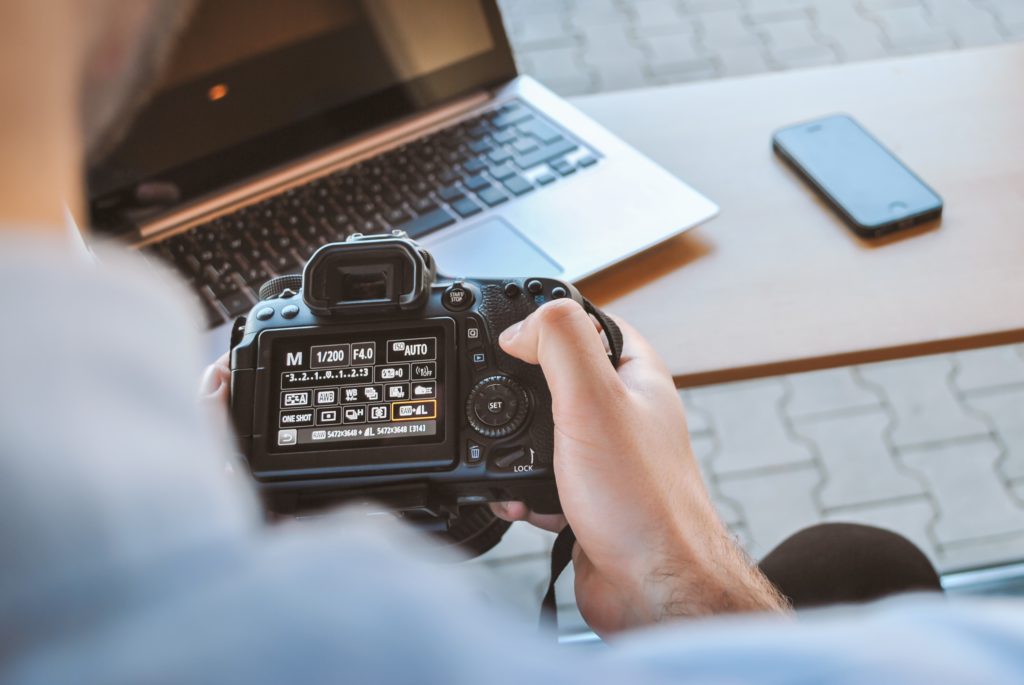
Setting up the shutter speed in a manual mode can be tricky if you are new to the mode. I am going to give you the formula to get this right.
- Know the focal length of the lens
- Use this formula to calculate the shutter speed (works mostly in good lighting conditions. Use ISO tweaks to get the lighting right for a darker environment)
1/F (focal length in mm) = Speed of shutter (Minimum)
Ex. If you are using a 100mm lens, then the shutter speed will be 0.001 seconds or 1/100 second.
Rule of the thirds
If this is not the first article that you are reading about photography trips, you would’ve come across this tip a lot. This rule is going to be the secret concoction that helps you click stunning landscape pictures with centralized objects.
Turn on the grid in your camera and locate your object in one-third of the screen where the grid intersects. If the object is a person, it is better for the person to either look straight at the camera or look at the two-third of the screen.
This tip will make the image more aesthetic and the eye will wander the frame.
Frame the photo
It is always better to have a frame for your photo to make it bold. What if the photo itself has a beautiful frame for the object? Clicking a picture with an object just being there and the same object with a frame in the photo itself will create a world of a difference. This tip may not work all the tip for all situations however, look around and see if you can frame the object using anything that is available there. It is very important to make it look natural and not where it becomes obvious that you wanted to use it just for the sake of it.
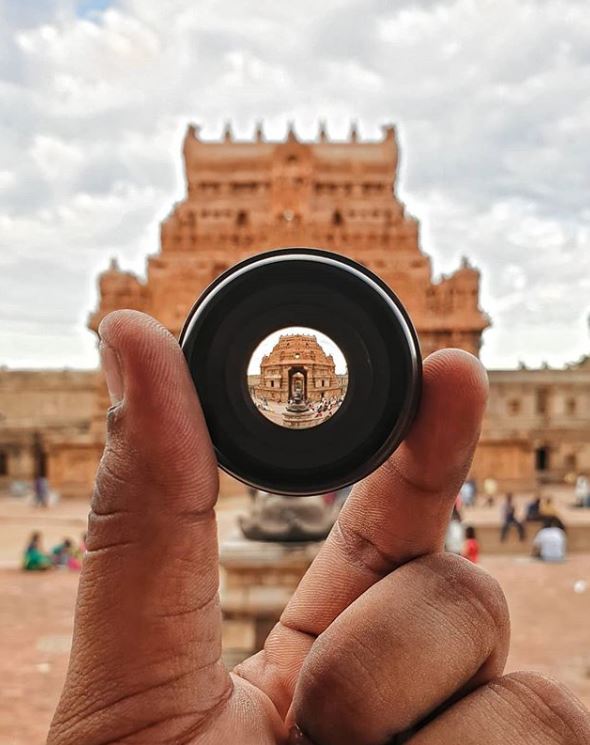
In this photo even though the lens seemed to be introduced intentionally, it makes a great frame for the temple since the photographer chose to give it some depth by blurring the background.
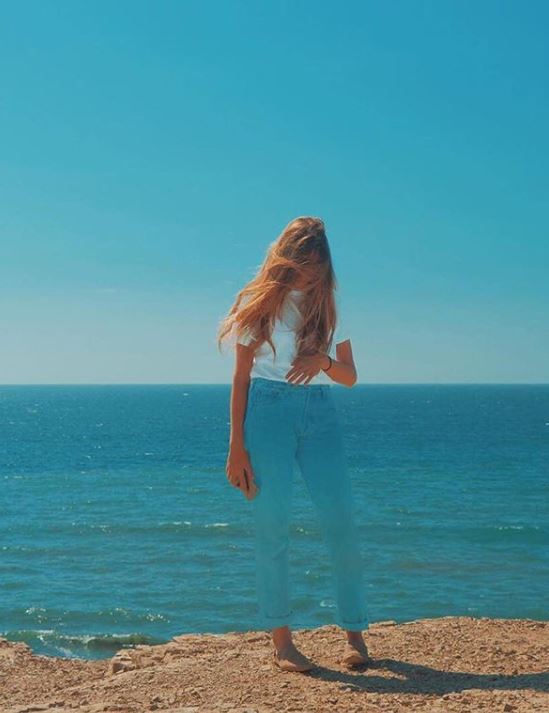
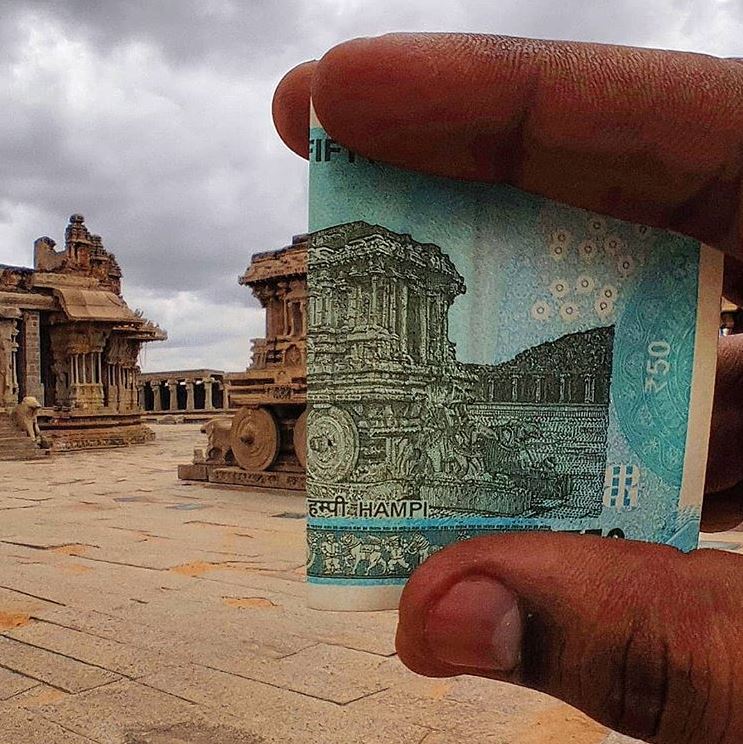
Alignment
It’s fascinating how our brains seem to be attracted to aligned pictures better than a clumsy one. Aligning your object with a background by finding an alignment point, line or curve is a great place to start. In this example, you see how the object’s outfit is made to be in alignment with the horizon.
In this second example, the image on the currency is beautifully merged with the actual monument by half making it look like a part of the same and, this makes your photos get a greater quality by showcasing the talent more than making use of just a feature in a photo editor.
Using a macro lens
It has become common to have a macro lens these days. Sometimes macro shots are the beginning of one’s photography journey. I never stop being mesmerized by macro shots despite the fact that it is a cliched technique. Of course, shooting a close-up of a flower is overrated. Having an eye for a better object may seem like a great idea. Macro shots bring out objects and characters of an object that cannot be seen with the naked eye. Therefore, it is always a good idea to click an image to show your audience something new.
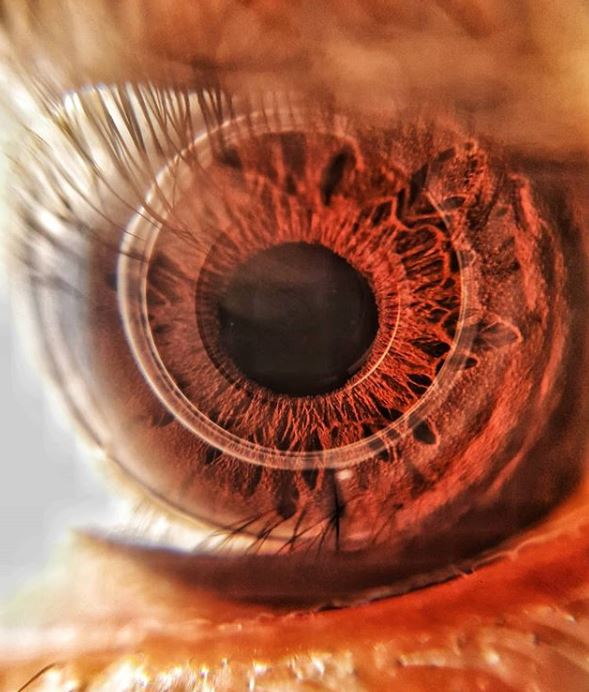
My friend had clicked this beautiful shot of his own eye using a macro lens that looks stunning and makes the viewer experience the “wow” effect.
Interested in macro shots? Leave comments or links to your portfolio!
Using RAW photos
RAW formats are very versatile as what you see in the display is the exact copy of what goes in the lens. You get the ability to tweak the picture in all spectrums and it’s really interesting. Before we get starting let’s see what RAW image is. There are 2 types of photos that a camera can deliver. One is the compressed format like JPG, JPEG, etc. and the other is what they call it as a non-compressed format. The non-compressed format is the RAW format. Hence, there are no losses like how the compressed images usually have. One big drawback in RAW formats is that they occupy a huge space in the storage. Especially if you shoot pictures on a mobile phone you cannot keep shooting everything as RAW as it will end up eating a lot of space.
Click here to read about how RAW formats are great for editing photos