
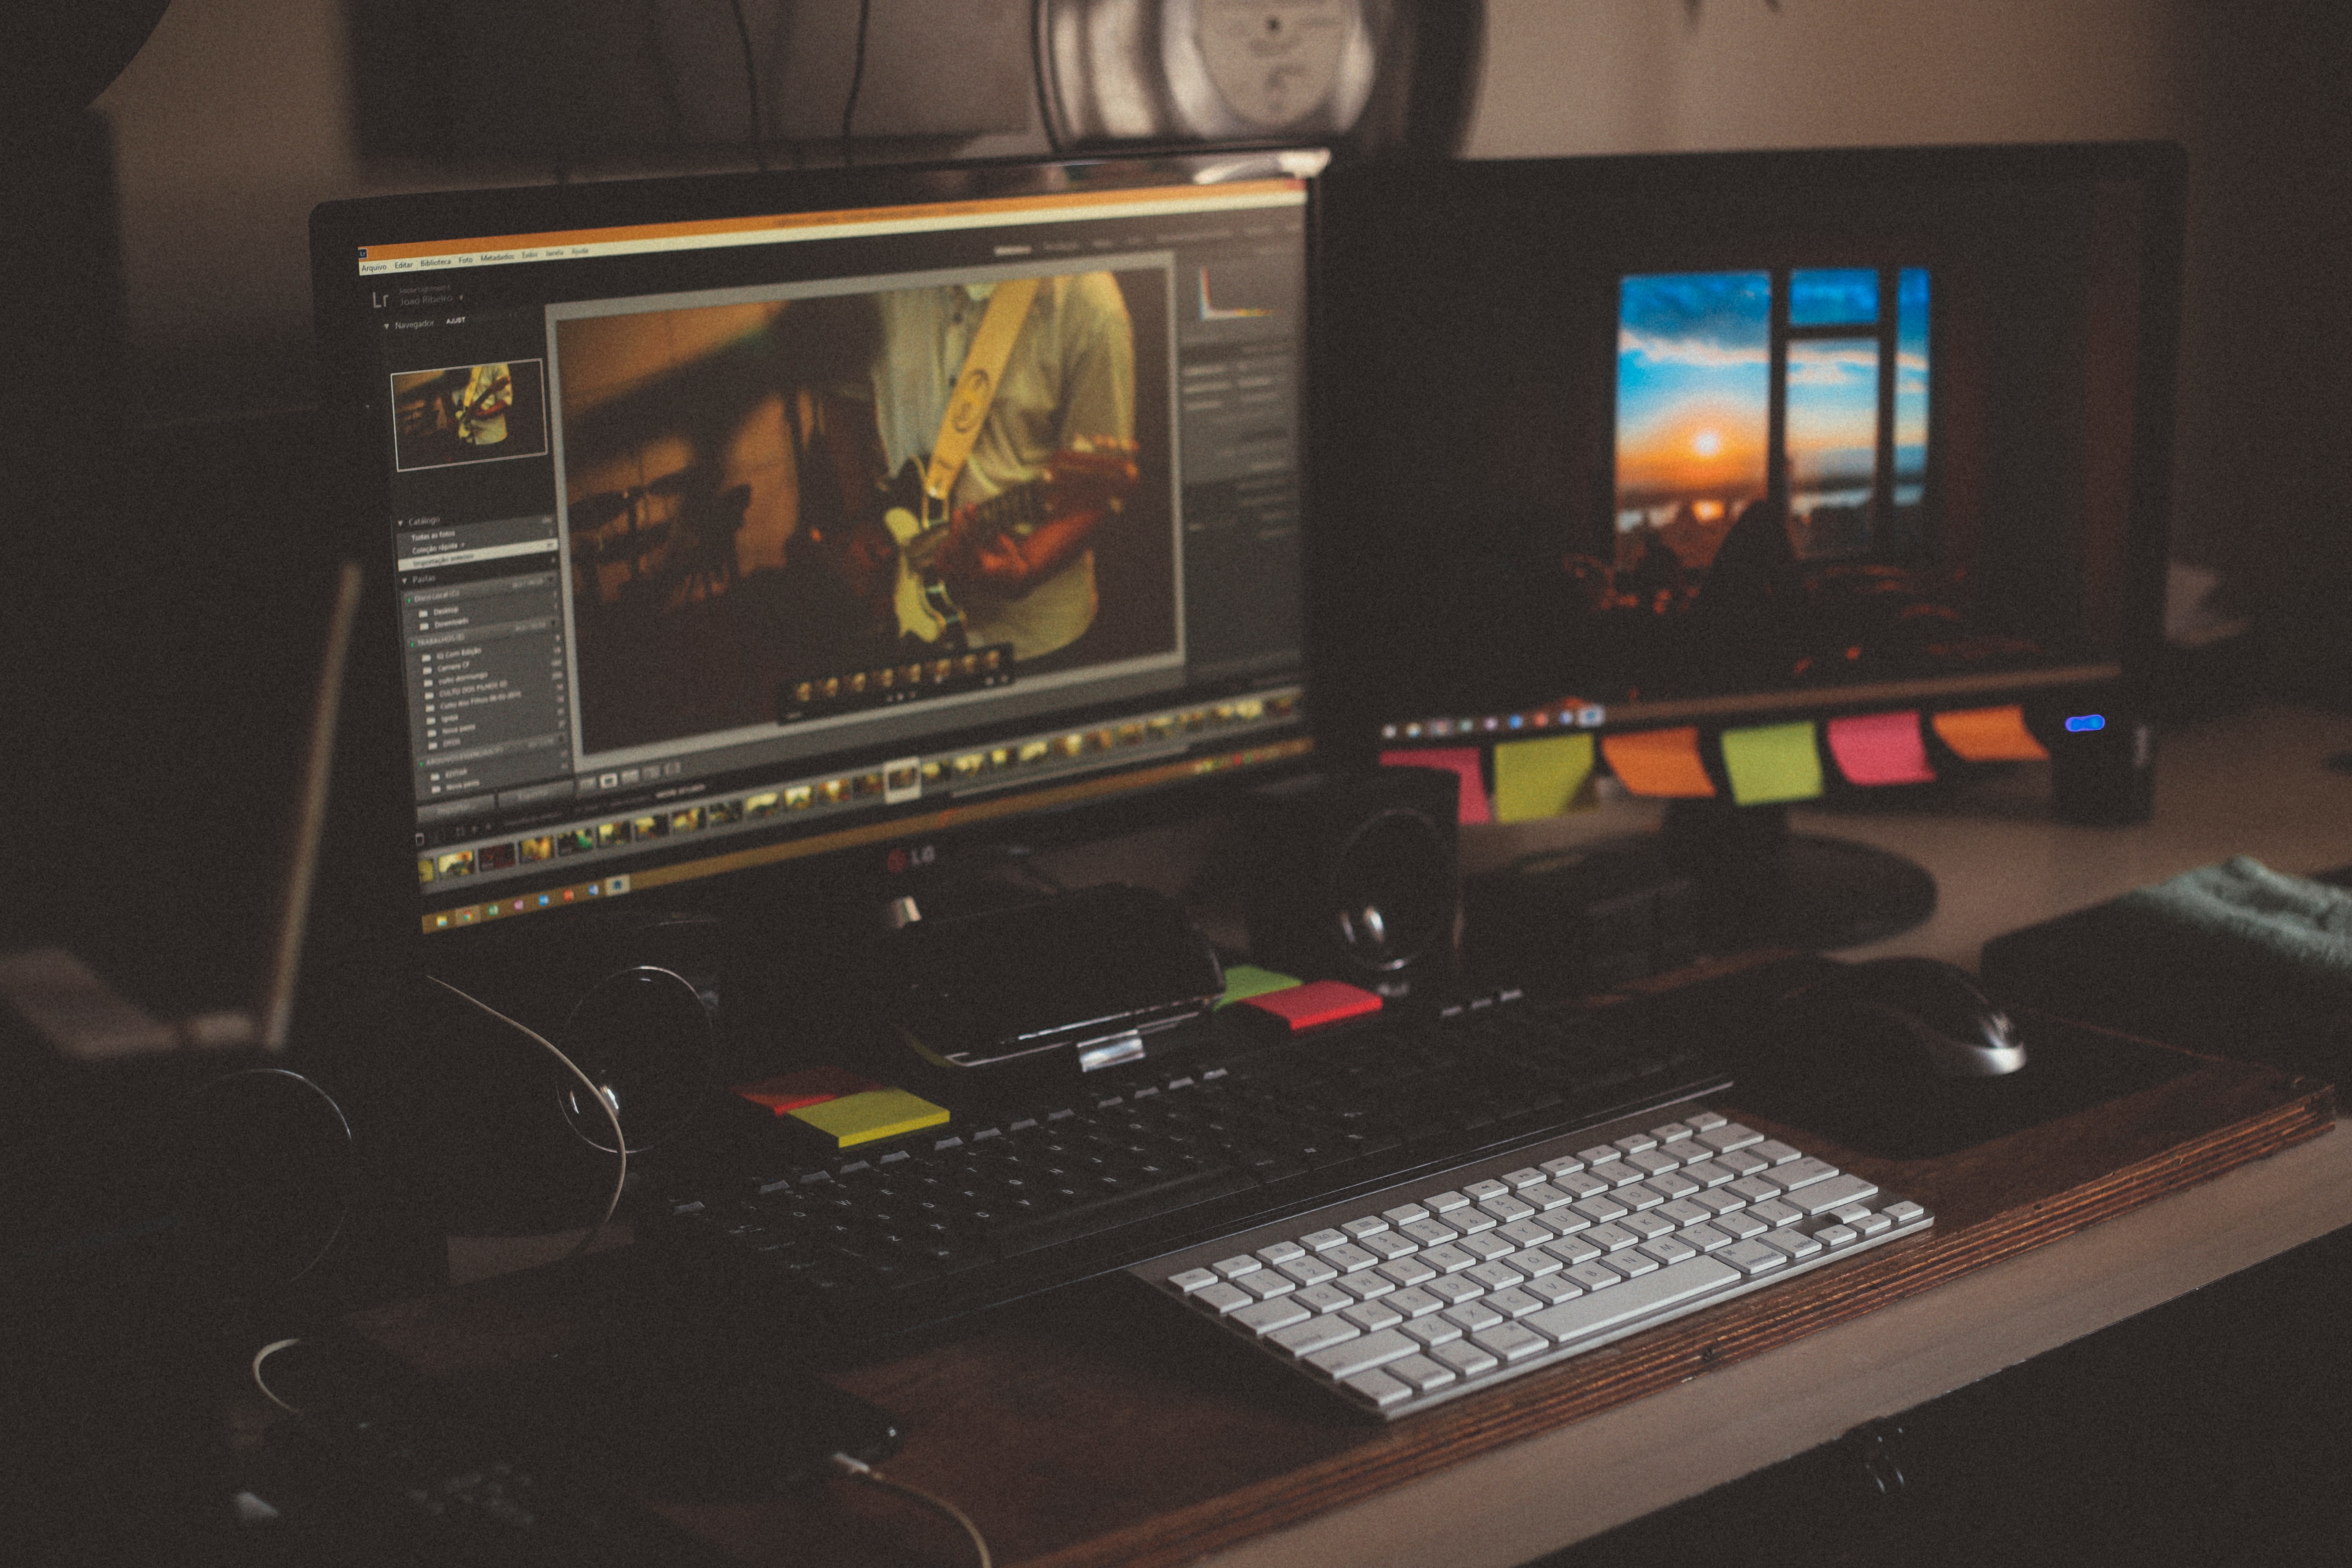
Adobe Photoshop has been one of the best picture editing tools that are available. Starting from a college student to a professional photographer enjoy the benefits of this application. So, what is that the professionals use that most people miss out on? There is a reason why they are called professionals. And they seem to be knowing something the many don’t. In this article, I am going to highlight the 10 most powerful features in Adobe Photoshop that everyone must know to get to the next level.
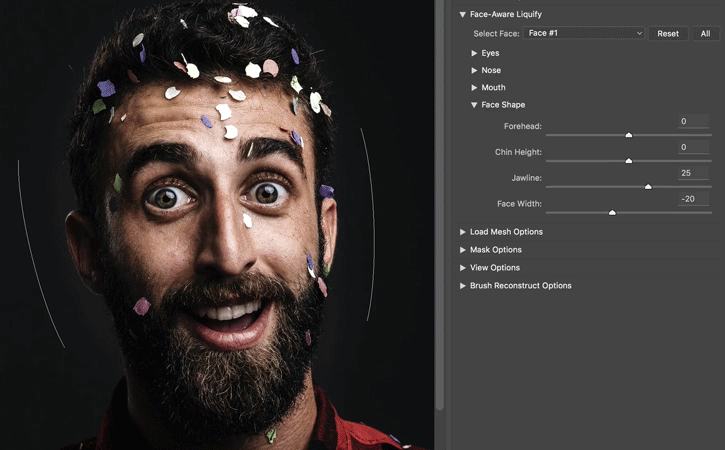
Facial Liquification
Once you open an image in Photoshop, convert the image to a smart object as it is always a good practice to do so as it gives you the option to edit it later. Hit filter on the tools bar then select liquify and here, there is a new head option that is called the face tool. You can also enable it by using ‘hotkey’ which is the letter ‘A’. Now what Photoshop does is that it creates small heads by automatically detecting faces in the image. Although there are possibilities that it may not be very accurate because of the angle of the raw image, most of the time Photoshop does a pretty good job.
Now it’s time to play around. These heads can be pulled in any direction to get the desired cosmetic changes to the face. Making the eyes wide, nose thin and even give a face a broader smile. What I love the most about this feature is that it has a symmetric result. That means any changes you do to one eye will have a proportional effect on the other eye of the same face. I would advise you to resist the temptation to overkill using this feature as it also has the potential to make people look goofier.
Source: https://ultimez.com/
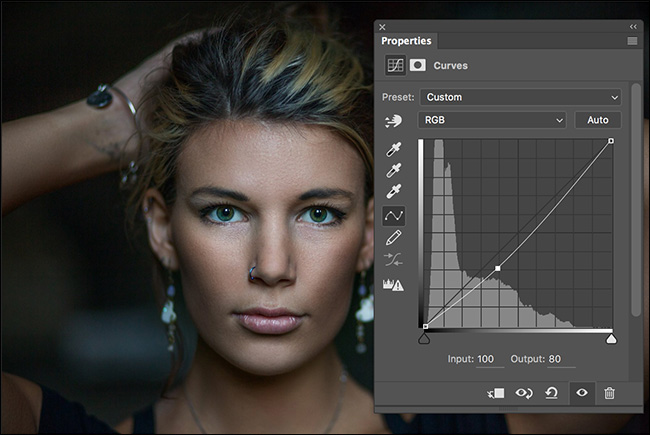
Curves
This is my favorite feature and you can quickly adjust contrast, colors, tones, etc. to an image. Just like the other features, add an adjustment layer to the picture you are editing, and this time choose curves. The properties of curves will pop out for you to start the work. It has a diagonal line over the histogram of the image. The quick method of correcting contrast would be to have the color selection on ‘RGB’ and make something called as the ‘S’ curve or ‘in-curve’ on the histogram. This is done by pulling the curves down on the darker parts of the image and upon the lighter parts of the image. This will instantly add a high contrast to your picture making it rich. You can add heads by clicking on the curve and delete them by pulling it out of the properties window. You can also do a variety of corrections by individually selecting red, green or blue in the color selection drop-down and tweaking the curves.
Source: howtogeek.com/
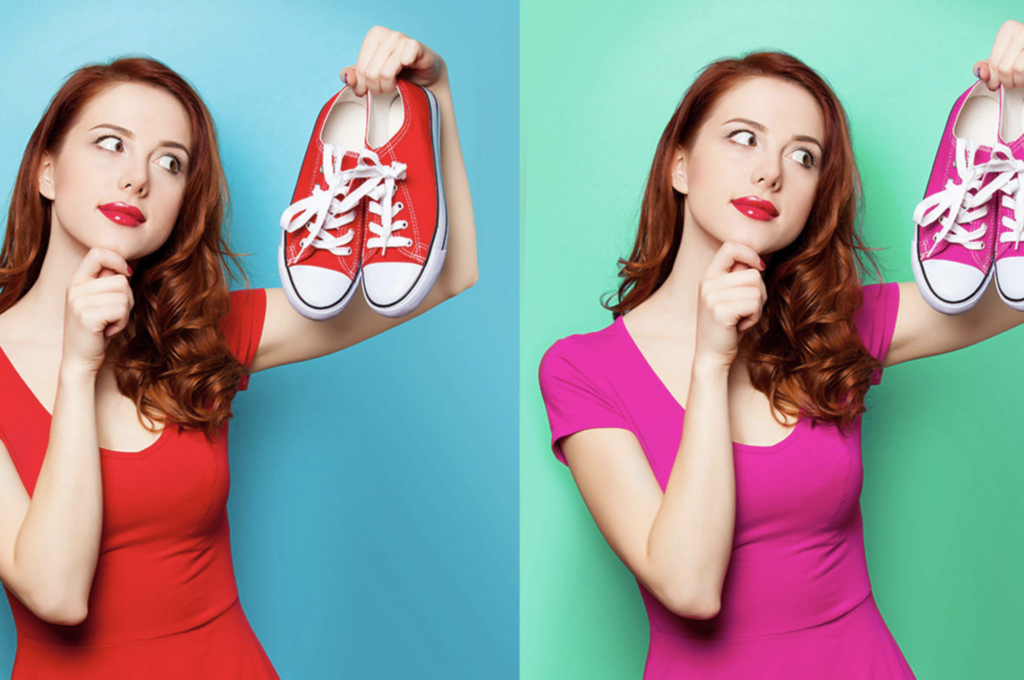
Marked color range
If there is a need to change the color of a specific object in a picture this feature is going to be of great help. Start by adding a hue/saturation adjustment layer. Now when you select the layer mask, you’ll find the properties showing you an option called ‘Color Range’ what this is going to do is help you define a specific color in the picture that you would like to change. Use the eyedropper tool to select a specific color and play around with the fuzziness until you have highlighted most of the areas under the color selection.
Now click on the layer thumbnail and adjust the hue until you find the right color that you would want. There are chances where photoshop might select undesired areas in the picture and here’s how you can correct this. Make sure you have selected the layer mask and hit ‘B’ on the keyboard or choose the brush tool. Make sure the foreground and background colors are black and white and start brushing black on areas that should retain the original color and white (background and foreground can be swapped using the hotkey ‘X’ on the keyboard) on the areas that need to be changed. Take as much time as you want to take it to perfection.
Source: phlearn.com/tutorial
Color lookup table
This feature gives you the convenience of mashing multiple adjustment layers into one stash so the same can be copied to other pictures that you are editing. But before you start using this option it needs a background so select the layer that you would like to use as a background and choose Layer – New – Background from layer from the tools bar. Now select any one of the adjustment layers that you would like to mash up and select File – Export – Color lookup table.
Checkout – Picture Editor
In the pop-up window, you can give a description for your LUT (this is not the name of the file) and select grid points (medium works well). There are various formats to choose from and I usually choose cubes and save it in the preferred location on your computer. Now you can apply this color LUT on another picture by clicking on Layer – New Adjustment Layer – Color Lookup. In the color lookup table adjustment layer’s properties, you are going to find an option to load 3D LUT which will ask you to choose an existing LUT file. Rule of thumb is that if you are planning to do color or tonal adjustments to a picture, it is recommended to use a raw image or preferably a 16-bit image. A small 8-bit image with huge adjustments is probably going to give a degenerated look.

Source: photoshopessentials.com/photo-editing 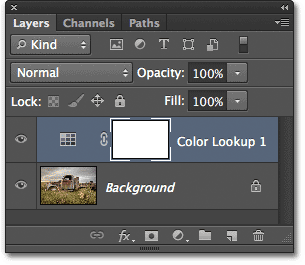
photoshopessentials.com/photo-editing 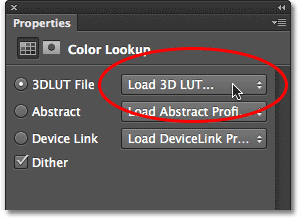
photoshopessentials.com/photo-editing
2 comments