
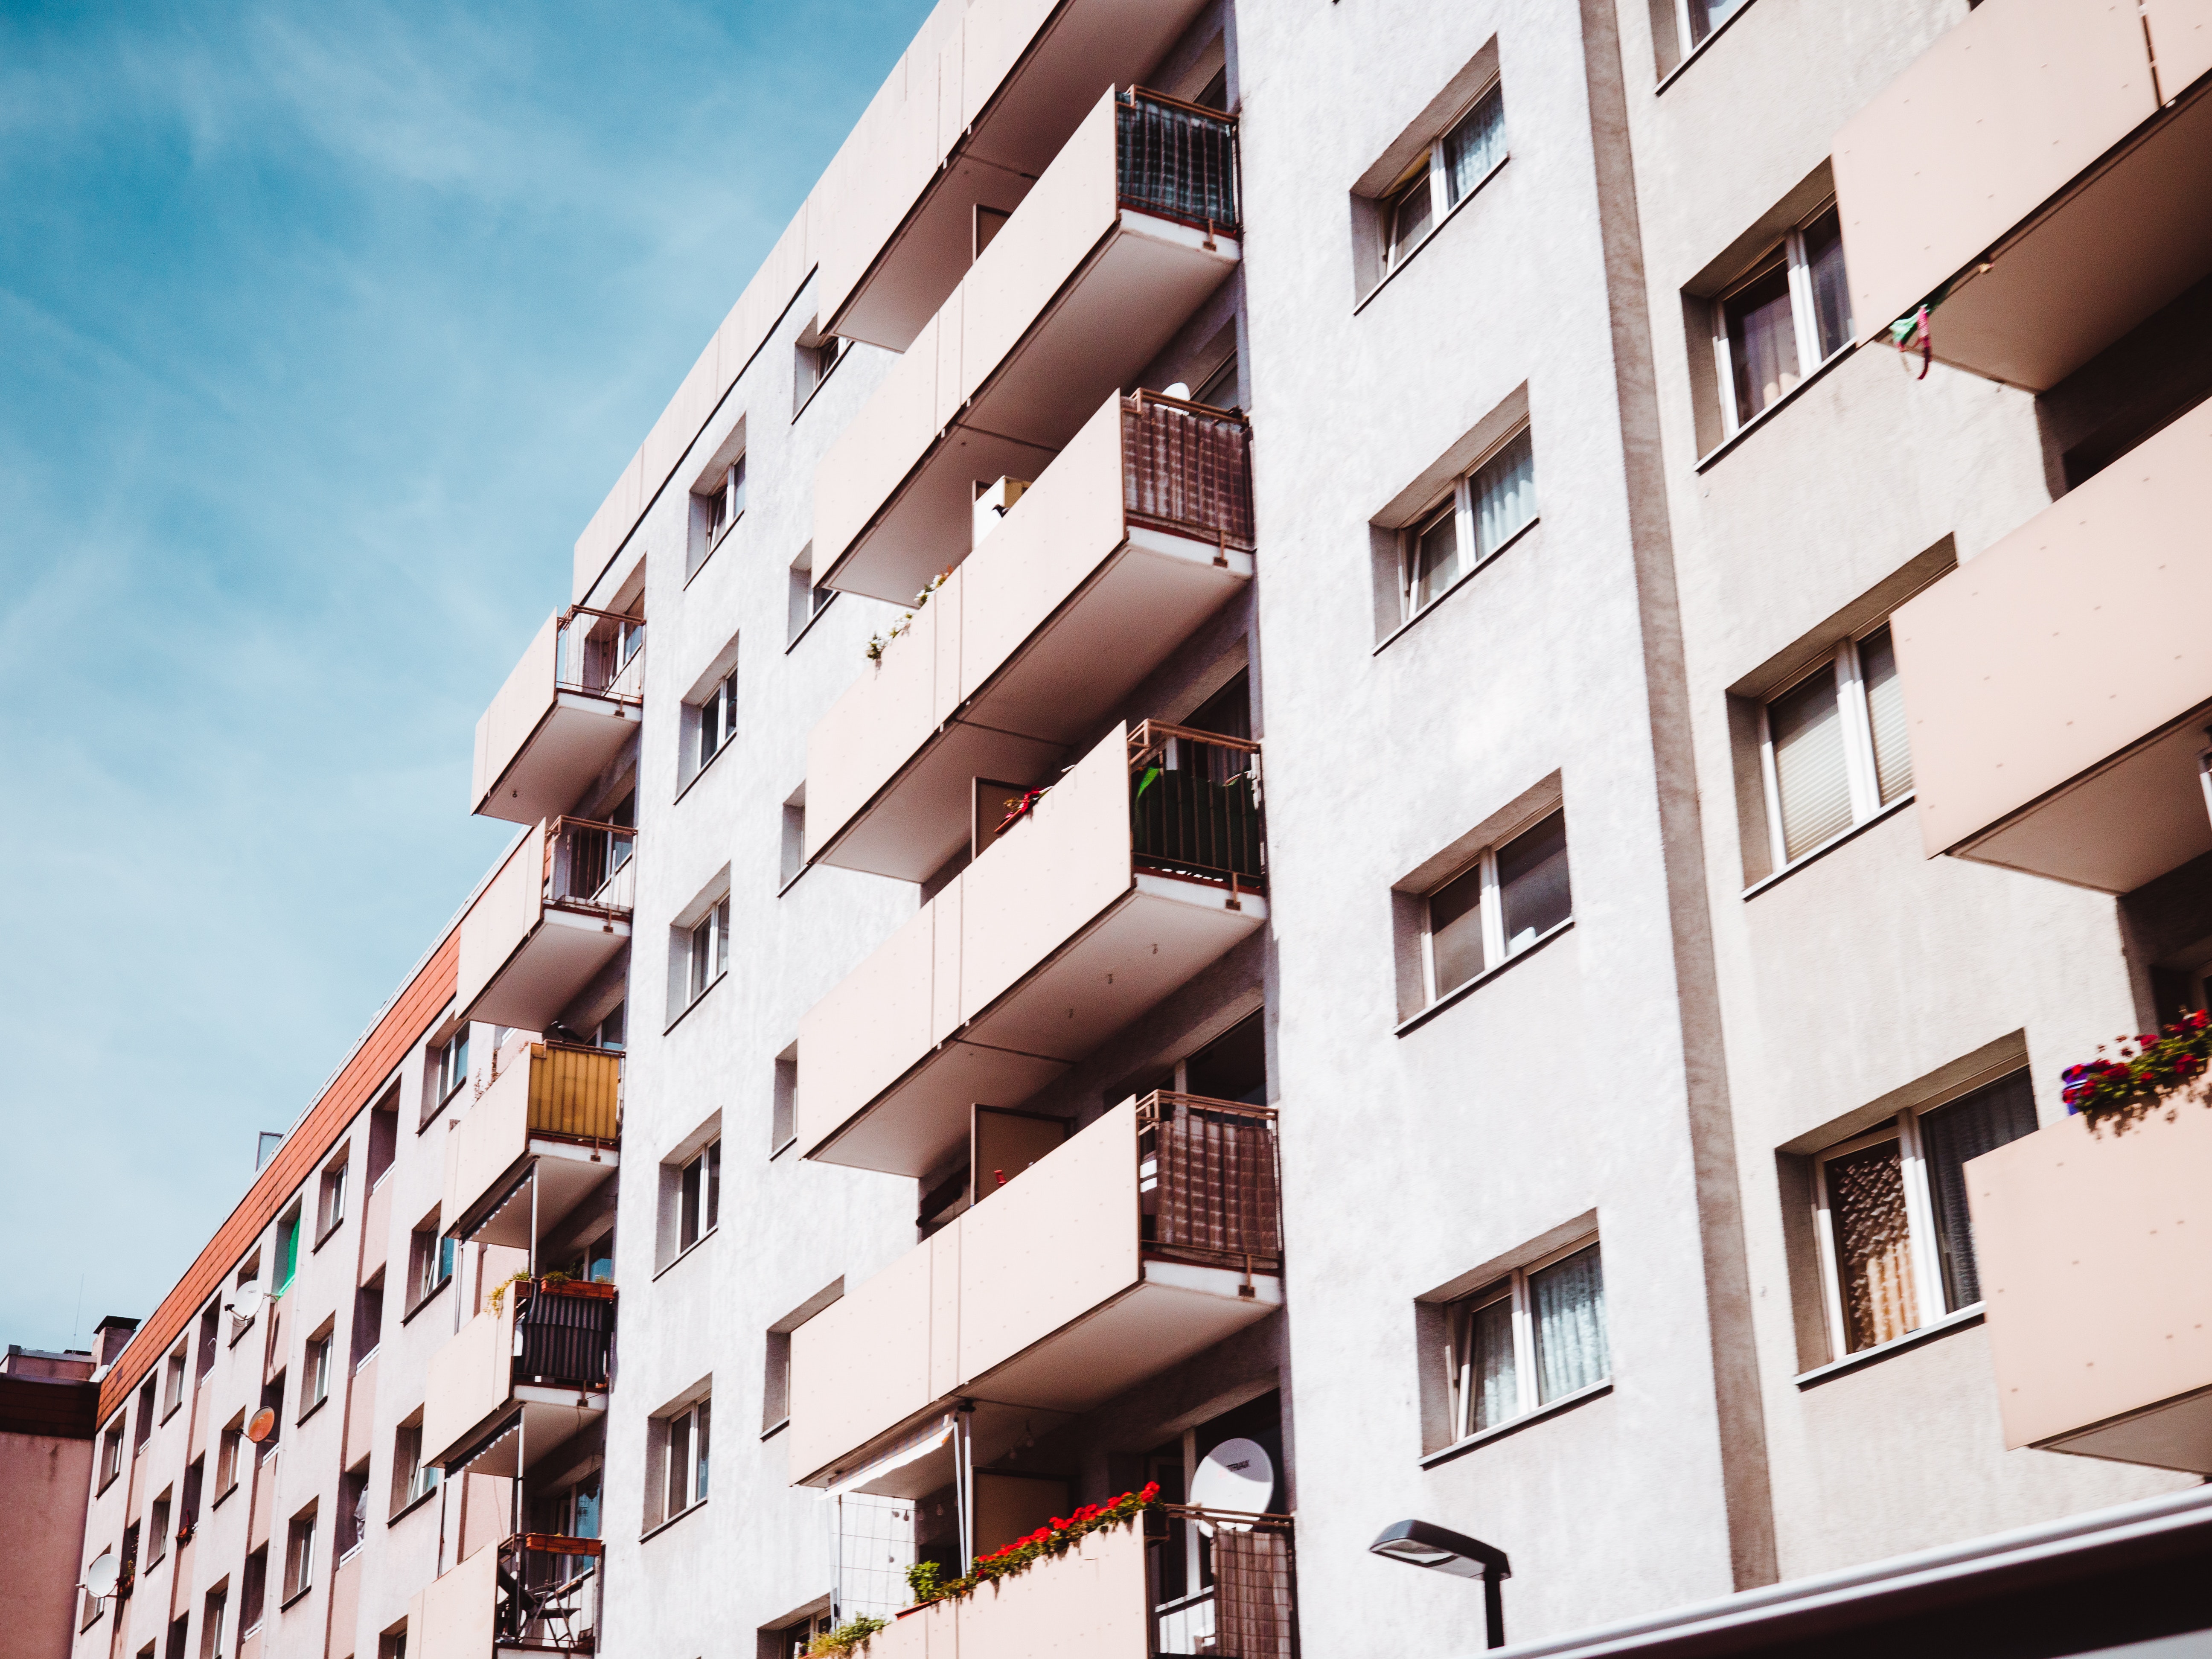
Real estate photography is one of the most interesting carrier options for aspiring photographers, wherein pictures are taken mostly in wide angles with detailed shots- to showcase online the features of property to be sold or rented, before the customer actually comes to inspect it personally. Real Estate photography is of mighty importance when it comes to presentation of the property as it is virtually a portfolio before interview.
When tenant or buyer searches for a property to buy or rent online, the global community acts as one of the most important factors in influencing their decisions. Hence these pictures are scientifically proven to have a long lasting impact on human brain than words. Now in case of real estate, pictures act as an initial point of contact for the tenant or the buyer, therefore quality and contrasts should be top notch. If you do a good job in clicking amazing real estate pictures then be sure, you will be in constant demand from estate agents, designers, architects, decorators, and builders. Here are some points to consider before you begin;
1. Preparation should come first in your list before any venture. Full frame Camera is best for this kind of photography, you can go for; Canon EOS 6D, Nikon D610 or Sony Alpha SLT-A99. In addition to camera, your Lenses play a crucial role if you want to take professional level pictures. Opt for wide angle lens (24mm) here since they help visually enlarge the room and create a more appealing look. OH! And don’t forget your tripod and lighting equipment to ease the shooting process! So that you can take photos in standing position with the tripods help to get rid of blurred images.
2. De-cluttering and organizing; ask your client to clean the rooms and outsides in advance. You can remove the undesirables lying around the house, which you do not want to capture in your picture. Ensure proper placement of furniture, vases and other decorative items in a house which you want to include in the picture, you can also use props to add live and color in bland places. It is often better to take a few shots prior to the photo session while walking around the house inside out just to examine the type of pictures you can click to compare and chose from after the adjustments that you have made.
3. The first image that any buyers sees is the overall picture of the property, you can take some good shots here with the inclusion of pool, garage, garden and backyard anything that the retailer highlight’s. If you have a drone that’s great, you can go for some Arial shots, from the front and directly above (20-30m) to capture an overview of the whole estate. Moreover if you have time, you can take similar pictures during night after turning on all the lights.
4. Based on your perspective of each room, you can take 2-3 shots with furniture, fireplace, windows and room layout as highlights. Rather than taking photographs from the coroner try finding interesting and unusual angels to stand out from the crowd. Some must have shots should include the living room, kitchen, dining area, master bedroom, master bath. Well defined images at different heights are necessary here as buyers seek different areas in detail based on their preferences, use the tripod here to capture sharp images at different angles make sure to showcase the spaciousness and versatility of the property.
5. Kids room, if kids are to live, there must be some fun stuff in their room which can be organized, the swing hanging in the backyard tree, seesaw or the park nearby are some good spots for you. The result varies based on your skills and equipment. The image quality typically hinges on many factors controllable and uncontrollable. For example you can learn to correct light temperature, it helps you troubleshoot a lot of problems quickly and swiftly. With artificial lighting it often happens that you get an unpleasant yellow tint in bathrooms and such areas. You can eliminate this defect by moving the yellow (or orange) slider until the yellow shade turns into a plain white light.
6. When you are processing the pictures use high end picture editing tools and try to keep the pictures as close to natural as possible. Alternatively you can outsource this task to save your time, and get it done from other professionals. You can create a portfolio online with low resolution pictures while high resolution pictures can be catalogued to be presented to the clients.
7. I would also recommend taking some video clips as well with an overview of the property at different angels in rooms with proper layout; you can use the drone for complete overview of the estate from the sky which can also include the locality when zooming out.
There you go with the essentials; it is extremely important that you pick the day (avoid cloudy or rainy weather at all cost) and time wisely for best shots. It would be optimum to schedule a photo shoot during the daytime so that you can get a lot of natural light and bright, saturated colors in your pictures. If possible capture some pictures during sunrise or sunset; you will get some of the most wonderful shots.