How to create works of art for Instagram

Spread the love

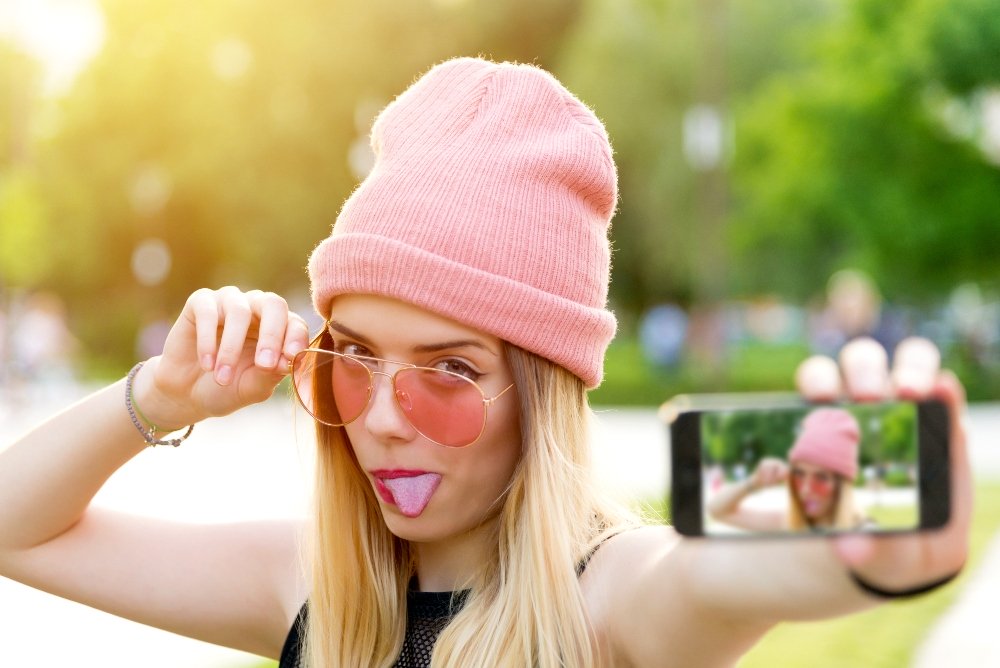
When you look at your Instagram account, you will see your accounts having stunning pictures to catch your attention; you need to create works of art for Instagram. Quality pictures are the main attraction of an Instagram strategy. You can create fabulous images for Instagram without being a professional photographer.

We will show you how to create works of art for Instagram to increase your audience and establish a
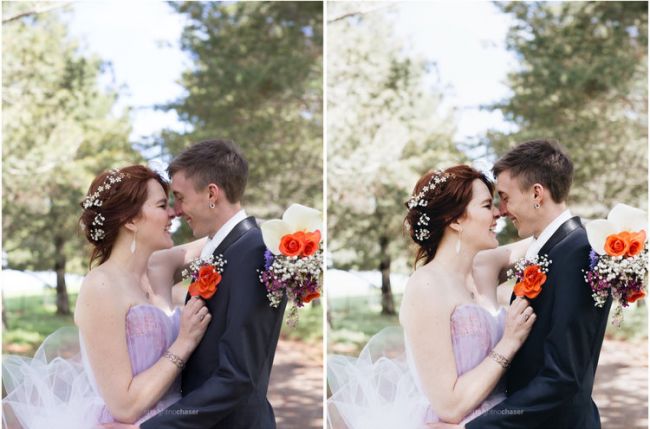
brand aesthetic. You will also find more about the best photo editing apps to take your photos to new heights. Here are the main steps.

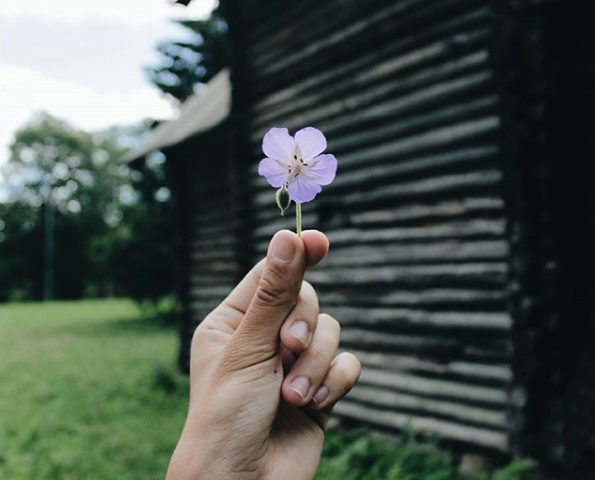
Begin with a quality shot

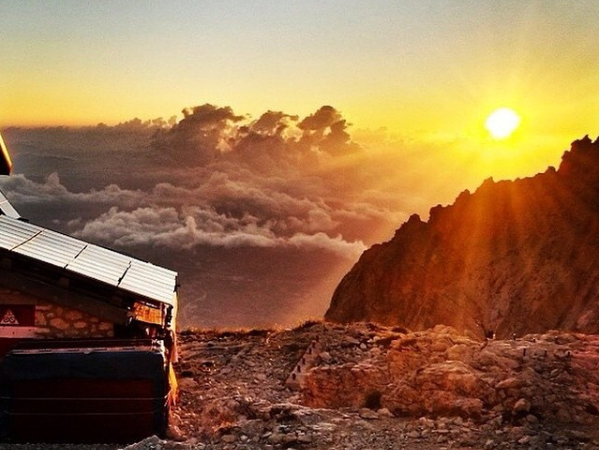
You need to start with a quality photo. You need to shoot in natural light and take many shots. It is the way to have the choice. Use your HDR mode on your smartphone camera when shooting in dim light or when you take outdoor portraits.

If you can’t spend time to shoot and edit photos, you can use stock photos. There are many free, quality stock photographs to choose from. It is a good idea for businesses that have not products ready to release. It is also a way for small companies with no budget to hire professional photographers.

Tip: It is better to start with a photo sized for Instagram. If you have a small picture, it will appear grainy or blurry.  You can insist on editing, but the photo’s quality will remain weak. The default format is square, but you can change the dimensions to the full height or width you need.

Choose the filter

Filters depend on each person’s taste. The tried-and-true method is the best solution to find your appropriate filter for your pictures. According to some studies, the most popular filter in Instagram is Clarendon. It provides high lightening and brightening effects, that embellish every photo, making it more attractive. The filter Clarendon is the first on the filter’s list; maybe it contributes to its popularity.


Photographs prefer Gingham, Lark, and Juno.  You also can use filters that add fading effects or vintage flavor with vignette. Other filters enhance warmth and brightness. You need to explore the range of possibilities to find the filter that suits your aesthetic. You also can keep your photo simple and choose the one that attracts you more.

Tip 1: You can adjust the intensity of your filter and adjust the sliding scale from 0 (no effect) to 100 (full effect. After finding your favorite filter, specialists advise using the same filter on all your posts to establish a distinctive look for your feed. Many celebrities use this procedure.  It is a good way to reinforce your brand identity. More than half of great brands use the same filter on each post for the same reason.

Tip 2: You can reorder the Instagram filters. You also can remove the filters you never use. To reorder the filters’ list, scroll down to the end of the list, and click Manage. Drag the filters to the order you prefer. 

Adjust the Lux setting

After applying the filter, you can adjust the Lux setting. You need to tap on the sun icon above the photo. Lux helps to improve the contrast and photos exposure, adding a dimension, and making the photo pop.  It looks like a photo contour. It helps enhance underexposed photos. You can adjust the Lux sliding scale. When moving to the right, it increases intensity and contrast. Moving to the left, it decreases the contrast and brightness.  Lux has a stunning effect on a photo: sharper contrast and brighter colors.

Adjust your settings

Tap the Edit button on the bottom right. It allows adjusting other parameters. Check the alignment. With the edit option, you can create a custom filter. Now you can:

  • Adjust the structure setting to increase sharpness and contrast (these effects evoke film photography)
  • Scale the saturation for vivid colors, or tone it down a create a fade effect
  • Add a vignette effect

Before adding more effects, remember an advice Coco Chanel gave years ago, but always actual: “take off one accessory before leaving the house.”  You don’t need to apply every feature; you only need to enhance what is eye-catching about your photo.  

Tweak individual photos in a multi-photo to post

If you need to share multiple images in a single post, it is easier to edit each image separately. Click on the Venn diagram icon in the bottom right corner on the photo to bring up individual editing possibilities.

You can save your work or post to Instagram

You can save your image and your edits as a draft. The draft will wait for you; you can pre-edit multiple photos and post them when you are ready.  

Instagram has photo editing tools

The next level of your activity on Instagram is to use specialized apps created for editing Instagram photos. Fortunately, there are lots of possibilities; you can craft great photos and develop a personal look for your feed. Here are a few of the best photo editing tools.

VSCO

The photo editing app is the most popular editing tools on Instagram. Expert photographers love this app and for a good reason. VSCO is well known for its filters, many included in the free version. If you need more features, you can pay to have access to a vast range of filters. Then you will have the chance to add character and depth to your image and emulate the look of film photography. VSCO provides an in-app camera, enabling to capture photos with a degree of precision. You can adjust the white balance, shutter speed, focus, and aperture. Now you can take high-quality photos, especially if you are a specialist in DSLR cameras. The VSCO feature enables its users to make subtle adjustments, such as clarity, white balance, exposure, and skin tone.

Tip: VSCO is also a social site. You can save and share your pictures with other VSCO users in the app. You can explore other users’ work. If you need to find more, please go to  picture editor .

Leave a Reply

Your email address will not be published.