
Expensive cameras with various settings are no universal formulas for success. If you are not familiar with such terms as an ISO or shutter speed and all thumbs up with dozens of buttons and calls, there is a high probability, and your shooting will require some adjustments to post-image. The most effective way to fix bleak or color correction images is to use some good software like Lightroom or Adobe Photoshop, but these programs require advanced skills and slow down the computer. This article will reveal some simple ways to make Photo Color Correction and get polished images without complex editing.
Begin with a color correction:
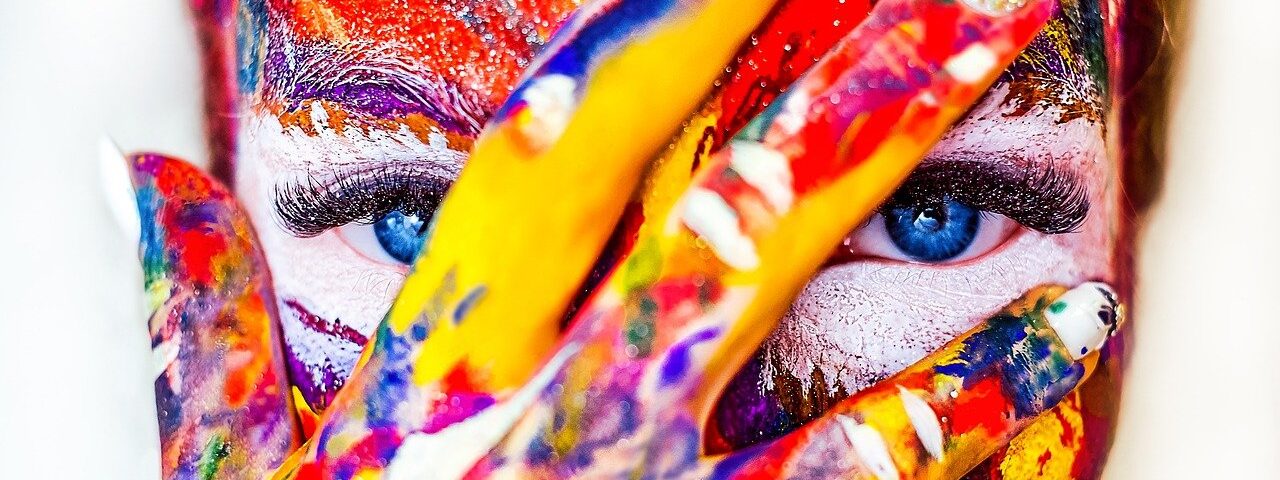
Every photo you take, or anyone who needs the problem, can benefit from color correction. Because the color correction is beneficial, it is an excellent way to start because after you complete the color correction, you might find that the image doesn’t need anything else. Color-correction can completely change the style, feel, and photo style. Having your colorful and effervescent color clearly will create a different feeling from softening and blunting your color. While it is clear, it is often quite surprising how much something like a color correction changes your ideas about an image. This is why it’s a good idea to start with color correction because it will help you build and advance with editing your photos.
1)Choose the best software to edit your photos according to preferences
This step is essential and foremost to get a finely polished image. The quality of photos after color correction heavily relies on choosing the right toolset. If advanced tools are too complicated for you, consider going with some little low-level software options.
There is plenty of software with all the features needed for effortless photo color correction — they are easy to find and use. Meanwhile, the software interface is simple to understand. Here am mentioning the list of tools offered:
- Firstly, Temperature slider — balance the warmth of the image by increasing or decreasing the color temperature value
- Tint — balance the saturation across all color channels — red, blue, and green;
- Exposure — adjusts the blacks and the whites of an image;
- Highlights — a slider that helps manage the details of highlights in the frame;
- Brightness — a saturation and contrast management feature;
- Contrast — To balance the contrast in the image.
- A full suite of photo management tools — including metadata editing, image sorting, search, format conversion, and many others — and an easy-to-use interface.
2. Select specific color according to environment
If a photographer is planning to publish a series of images, then it must be required is to have a broad theme that unites it. Moreover, introducing the shade of the primary color that will apply to all images is a way to stand out between other photographers and convey a particular atmosphere, mood, or a series of emotions.
For balanced and cohesive images, each primary color must be followed by the free one. In color wheels, complementary colors are on the opposite side of the main shade.
Each pixel in your image is formed by a combination of red, green, and blue so that the RGB channel allows you to edit all colors at once. You can choose the color and the secondary color when you switch for any specific channel. For example, when you select a blue channel, you work with blue and yellow. When you add points and move the curve above the initial diagonal line, it raises the tone area’s primary color. Part of the curve below this line adds secondary colors.
Some simple steps before you decide to work on it :
- Determine all the colors you want to add or emphasize on the image
- Align the color using hue, saturation, and light tools described above
- Tweak color curve
- Separate the tone.
3)Adjust mid-tones and highlights
Each image is balance – or imbalance, depending on the photographer’s skills – shadows, highlights, and mid-tones. Depending on how people editors play with these three aspects, an image can become lighter and softer or darker and haunt.
Highlight strength, shadow, and midnight in photography cannot be denied. Let’s look at these concepts to have a better understanding of how to color the correct photo:
Shadows are black from frames that appear when shooting in the wrong area. They tend to direct the image subject and reduce the detail level in the structure. The spotlight is the brightest area of the frame. When the light is sufficient about the place to shot, it increases the frame exposure and creates a focal point in the photo. However, if the highlight is too bright, shots will come out too much.
Midtone is between the middle tone frame. If black and white is the primary color of a photographer operating, gray will become a frame tone. Now you are clear about terminology; you might still wonder why a photographer must adjust the highlight and edit instead of leaving a frame like that. Manipulating these concepts offers more photographers to edit photo colors and possibly tweak further images, add more emphasis on some details, and reduce others’ importance.
Here are some reasons why we need to adjusting highlights and editing carefully:
- Ensure a balanced shot.
- Make a high contrast or soft image.
- The correct color by fixing exposure problems.
- Because color correction is part of the post-processing, you will need an editing tool to work on highlights and mid-tones.
Color histogram:
- Brightness / contrast adjustment slider
- Shadow/highlight blade tool
- Color image correction slider
- Black / white clip features.
4)Edit tone Curve
Are you looking for a more subtle way to adjust your photo color balance or increase its bad exposure? Start with a tone curve like a professional photographer! Like manual color correction, this tool gives you full control over the light and darkness of various parts of the image. Thanks to the tone curve, you can perfect the selected tone’s span and reach beautiful Split Toning.
Conclusion
In Conclusion, color correction of an image is more or less an essential thing to do when doing any photo editing. I have often mentioned how necessary color correction can be done for you, but it cannot be returned how much color correction affects photo editing. This is a building block and fundamentally essential to know and learn when editing photos. The other benefit provided is that it can help you make your goals with a clearer edit. When you color, you improve the best parts of the photo, you separate the focus from the background, and you can control all this by adjusting the curve, color level, hue, saturation.