
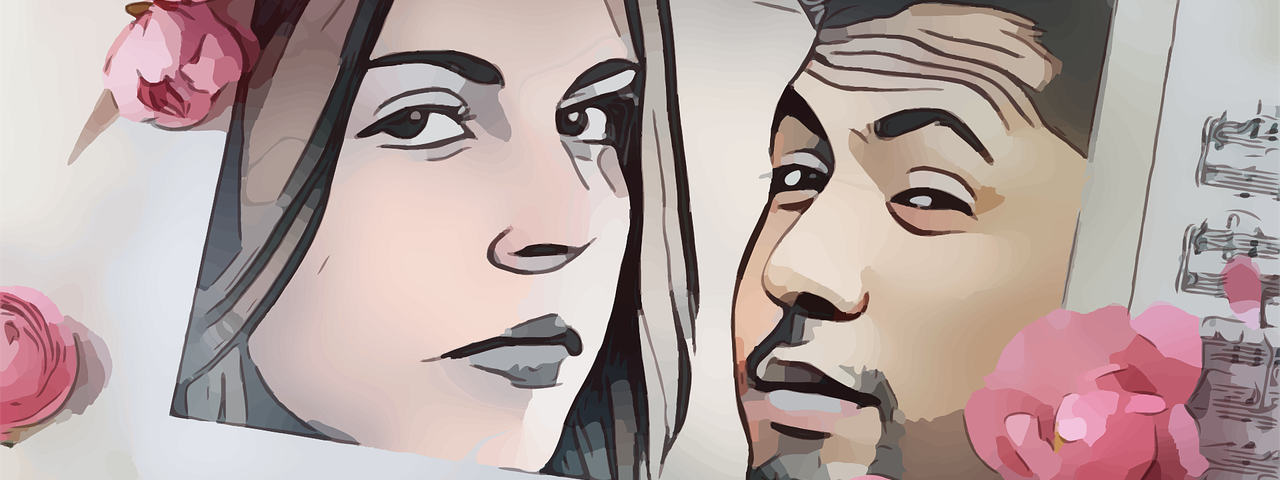
Photography has always been no less than sheer talent to master. People click various kinds of photos- be it nature, be it, people, be it scenes. Another essential aspect that has now been added with photography skills is photo editing. Photography editing can either bring your vision in your photos to life or ruin your photos. But it would help if you got yourself covered for both. Common photo Mistakes tend to happen. It would be best if you corrected them all with your editing expertise.

Here’s a guide to the top ten most common photo editing mistakes – and how to fix them:-
It’s a skill all prospering photographers and editors must learn to get there going big.
AVOID THE SKIN OF THE SUBJECT GETTING TOO UNNATURAL
It’s a very common photo mistake committed by inexperienced photographers and editors. They always try to bring out one’s best look. But it’s a different thing to make them an unrecognizable plastic doll or something that looks far from accurate. Nobody likes people commenting about their photos looking fake. They might not want to l Photoshopped either.No one wants their friends and families to laugh and joke about the pictures they took or how Photoshopped they look.
While fixing this common photo mistake, the key point to note is to edit the original and retouch simultaneously. In this way, you can put a check if you’re going overhead with your skin smoothing and lightening.
You should also continuously duplicate skin texture as you are cloning. There won’t be any areas left out that look far too smooth or textureless in this way.
When you are editing a portfolio, you must see that your subject is wearing blush or has contouring makeup. In that case, using the HEALING BRUSH tool available in editing apps helps a lot. I suggest using the Healing Brush Tool. This tool keeps the skin colors initially to where they are.

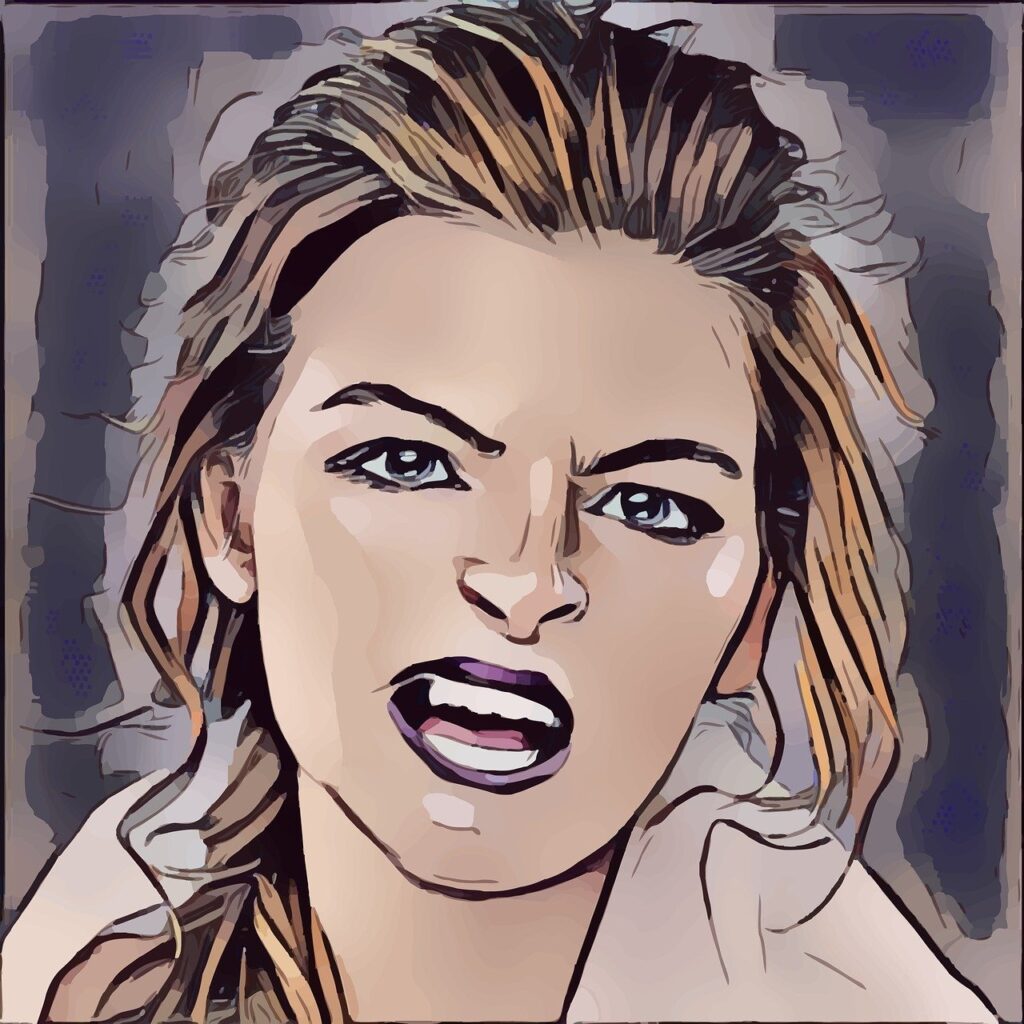
MAKING THE EYES PERFECT
Eyes are one of the most critical aspects of their photos; the photographers want to highlight them. However, getting the look perfect is a tricky job and is generally prone to common photo mistakes. They often use the dodge tool to brighten the iris of the eye. This will cause it to have a glimmering appearance.
However, there is a mark you shouldn’t cross when doing this as it makes the eyes look too bright and shining. Unless you want your clicked photos to be joked upon, pay attention to how much of the iris you’re lightening.
This theory is often applied to both humans and wildlife photography.
A decent trick to make eyes stand out is going over to the iris with the dodge tool one time at approximately 50% opacity.
You can also use the white balance tool to make sure that the white highlights of the eyes get a nice, crisp white appearance.
You can also use the burn tool to select and burn at about 50% opacity. You can also burn the edges of the iris to give the dodged area a bit more contrast.
This trick works and prevents the eyes from appearing over-edited. But they’ll still stand out nicely.
MASTERING THE CONTRAST OF THE PHOTOS
Contrast is what adds definition and aura to an image. Getting the contrast of your photos ideally is risky as it is always open to common photo mistakes. Keeping the contrast increasing, we often keep darkening the darks significantly. Or whitening the whites out of bounds.
This causes a loss of your image to lose detail and make a highlight, and once that detail goes missing you can never bring it back.
A lack of contrast can create a flat or drab image on the reverse end of the discussion.
Matte images are have taken a rage in the world of photography. But too much mattifying effect applied on a photo can produce unsatisfactory results, as you tend to lose minute details, as a common photo mistake.
The solution we found here that primarily important to understand how to use curves efficiently to add contrast (or takedown contrast) in your image and get to avoid a common photo mistake. Also, avoid the sliders. You must take time in adding or removing contrast, use a detail-oriented method rather than a general care freeway. Most importantly, remember to make your adjustments on an adjustment layer, not your original layer.
CATCHING THE BEST COLOUR TONE
Another critical aspect, you need to mind while editing your photos and not get to a common photo mistake is – setting the perfect tonality. Some colors are too different from each other and don’t match when placed with one another because their tones are far too varied.
This most ought to happen if you plan to split the tone of your photograph. This also includes editing the color of the shadows and the color of the highlights separately. You must make sure that your colors match one another by ensuring they are the same tone and avoid a common photo mistake. Some parts can be done using your eye. Remember, getting the image’s tonality correct reduces the margin of errors and gives your idea the catch.
AVOIDING TOO MUCH HDR IN PHOTOS
As photography has scaled new heights nowadays, there are several modes to capture your picture and make it stand out. HDR is one of them; it stands for high dynamic range. Although it is a crucial feature, it also opens a phase of common photo mistakes. This type of imaging mode in which the shadows and highlights have a high and prominent dynamic range.
If you see that your subject exceeds the camera’s dynamic range, the highlights need to be washed out and be too white. Also, the darks also might become too dark and lose detail.
With HDR mode on, you bring the shadows and highlights full of detail into the range that you want at your will.
HDR is a computerized process and is impossible to achieve naturally. So you must be careful while handling it, as you want to avoid mistakes. There tends to be a bit of a gray area on how much HDR is too much.

SETTING THE SHARPNESS OF YOUR PHOTO
The focus of your camera captures and maintains the amount of contrast on your subject to affect your image’s sharpness.
For your image to be taken as a sharp image, it needs to have perfect contrast. If there is a bit less contrast in your image, the subject will not look 3D. Regardless of whether the focus is perfect or not.
Our vision naturally detects edges ad eyes sharpness. It also uses shadows and highlights to record the depth of a subject. Additional sharpening while post-processing can force the edges to get more prominent. It is suggested to sharpen via a high pass filter. The high pass filter gives you maximum control over the edges of your image and the intensity of your sharpening.
CROPPING AND ALIGNMENTS OF THE PHOTO
Another important aspect where people tend to make common photo mistakes is getting the alignments of your photo correct and cropping your image correctly.
General cropping techniques include leaving enough negative spacing in the image. If the subject is too closed off prominently, the image will feel claustrophobic. We must keep this in mind and avoid a very common photo editing mistake – over-cropping a photograph.
To avoid this, we must try cropping according to the golden ratio and the rule of thirds and other compositional rules.

CONCLUSION
Nowadays, good editing software has got utmost importance, just like cameras and essentials. But it is effortless to lose your simplicity in producing a visually stunning image in-camera that stands out. However, whatever we do to correct common photo editing mistakes, we shouldn’t opt for over-editing. At some or the other point, we must stop.