
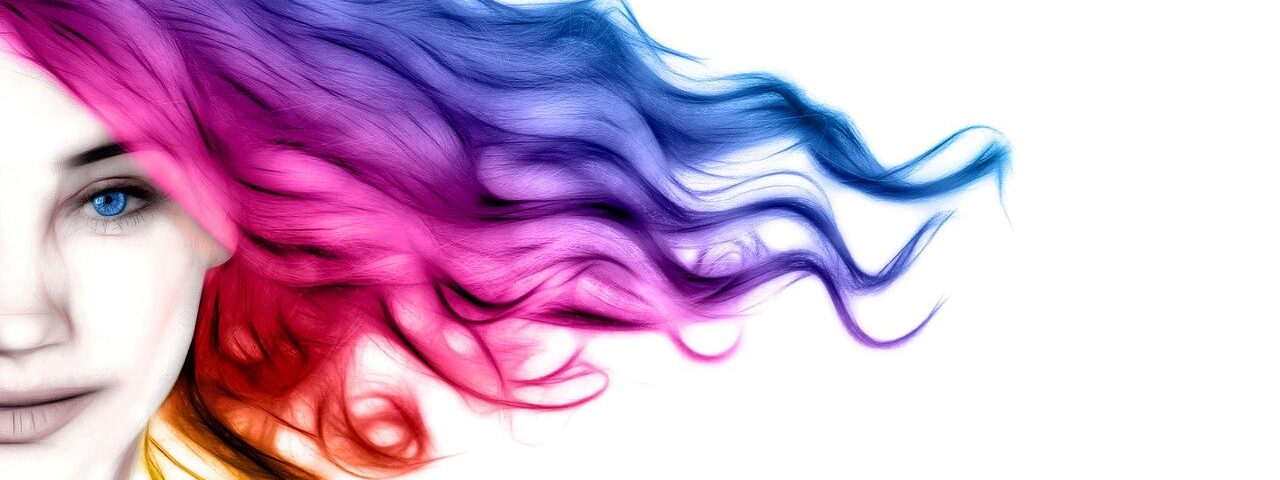
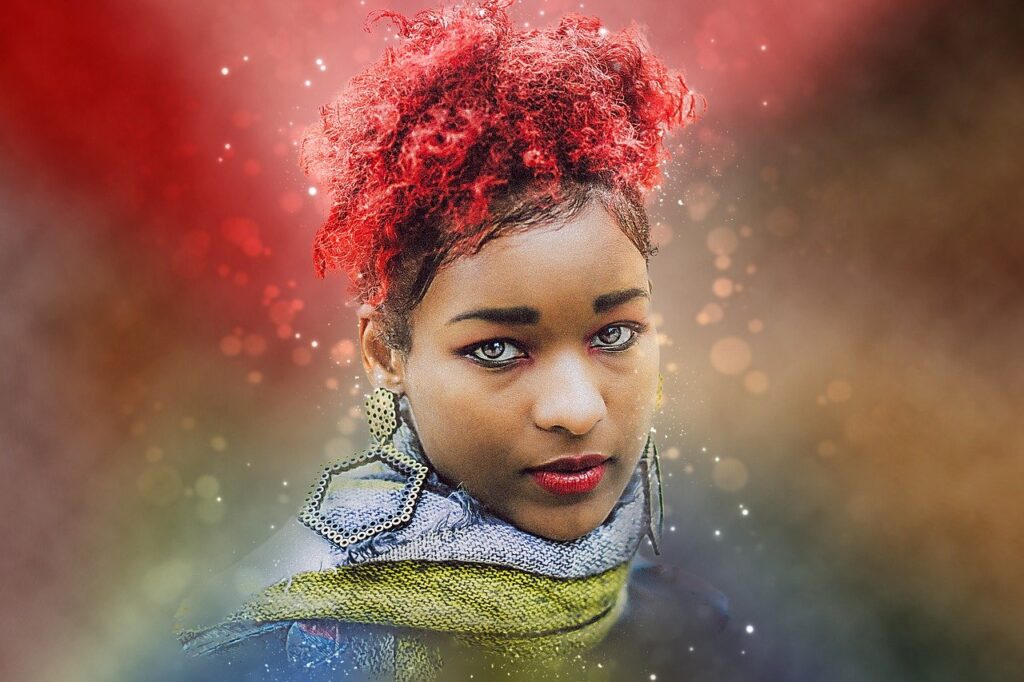
Everybody likes to get themselves clicked, by a skilled photographer, when they are with friends, family or alone. Clicking a great photo involves camera skills, but editing skills play an essential role too. Photo editing in Photoshop gives you many advantages and options to work upon your photo. Sometimes, you might feel like changing your hair color in the image. Here, in this photo editing tutorial, we bring to you how to change hair colour in photoshop. Here we learn the techniques to tint and colorize our hair easily. It is quite an elementary process, and it also allows us to go back to the original without redoing what we have edited. It is a robust technique, and you can use it on your photos, as well as the ones of your friends, colleagues, or parents. Easy to learn and fun to practice.
Here are the steps you must follow to learn how to change the hair color using photoshop:-
SELECTION OF HAIR PROPERLY
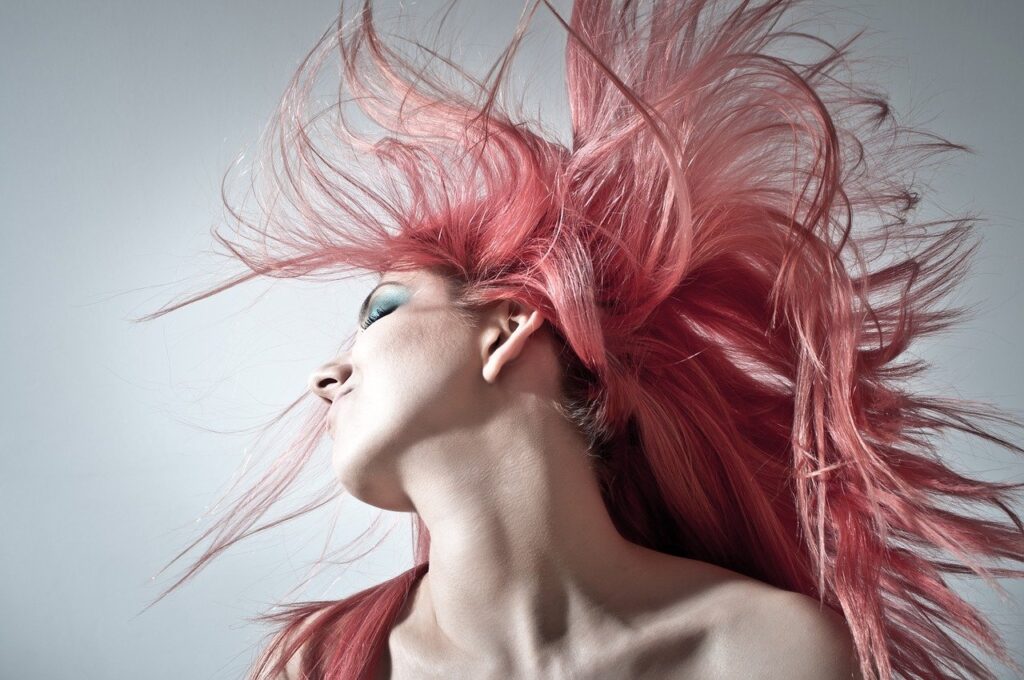
One of the primary steps you need to follow in this technique is to select the hair in your image precisely. This part is a bit problematic because the hair in your photo may be messy or chaotic. To yield the best results, we suggest you start with a photo with a contrasting background and where your hair has been laid back, mainly in a clean way. You should remove any fly-away hair carefully from your face. It will help if you care that the image you want to edit is high resolution and sharp. Hence, the beauty of your image is protected and enables you to proceed with the other steps to learn how to change hair color using photoshop.
ADJUSTING THE SATURATION OF THE IMAGE
Once you have placed the image in photoshop, selected the hairline, it is essential to adjust the saturation of your image. It keeps your photo protected. Keep your photo opened in photoshop and click on the new adjustment layer icon, available at the bottom of the Layers Palette feature. Next, we select “HUE/ SATURATION” from the pop-up dialogue that appears. This aids you in setting the correct tone for your photo.
GETTING THE COLOURIZE OPTION
Once the HUE/SATURATION dialogue box opens, we look for the colorize option in the bottom left. It is a checkbox, when clicked, colorizes your image with a tinge of red. Don’t get afraid; there are many steps to follow still.
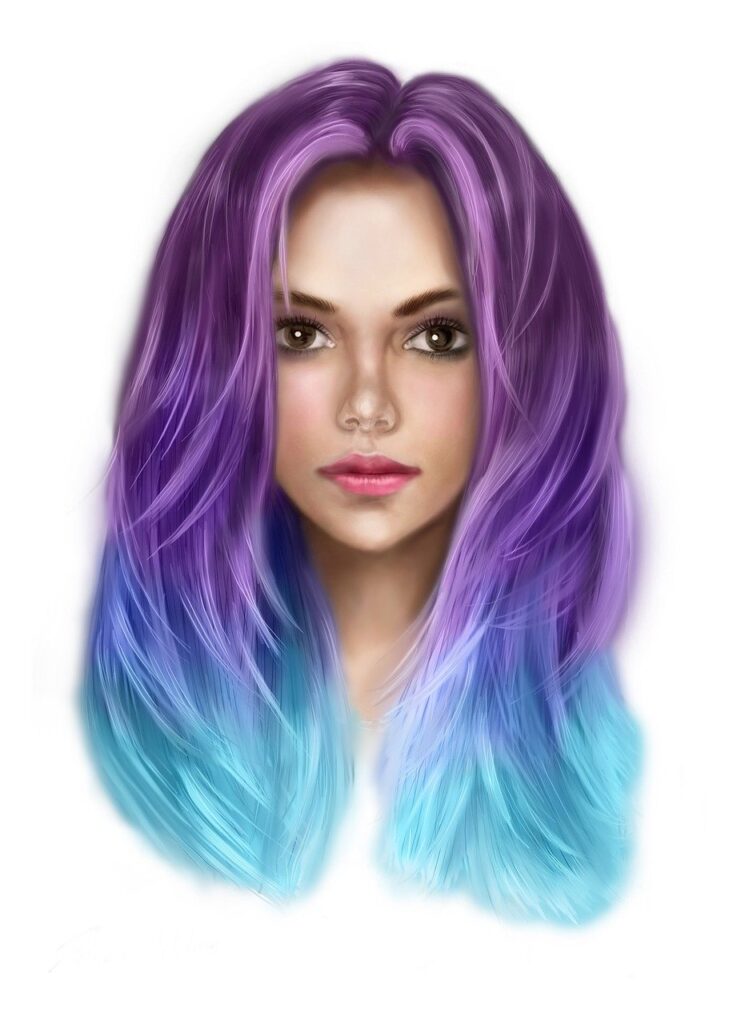
SELECTING NEW HAIR COLOUR
Once you are in the Hue/ saturation dialogue box, we select the desired hair color you want to apply. There is a feature of the Hue slider that must be dragged and adjusted to get to your desired hair color. When you set the color, the entire image will get colorized, but that is no flaw. It will help if you keep a steady focus on the hair. You can adjust the color’s saturation and intensity by dragging the slider left or right sidewise. If you are sliding it to the right, it increases the saturation and intensity, while moving it to the left does the opposite.
Don’t worry about getting wrong in adjusting the saturation and color. You can always retrace your steps and change what you did. Click ok when you have completed all stages in the HUE/ SATURATION dialogue box. Coming back to the image, your hair is of the color you desired, so is the rest of the picture. There are still steps to appear in this tutorial of how to change hair color using photoshop.
CORRECTING THE HUE/ SATURATION LAYER MASK
Getting out of the HUE/ SATURATION dialogue box has colored our hair and put a layer mask or a layer of color over the entire image. This fix can be managed easily, as we only want our hair to stay colorized with the shade we desired. You need to prevent our entire image from being colorized.
As a primary step, we totally hide the effect of the hue/saturation mask by adjusting its layer to black. Black should always be our solid background color. As an advantage of using photoshop, the layer mask has already got auto-selected. We can use the keyboard shortcut
ctrl+backspace to fill in the layer mask with black.
As soon as this is done, the colorizing effect vanishes from our image.
LEARNING TO USE THE BRUSH TOOL
As the colorizing effect from our image has disappeared after the previous step, we can retrieve it on our hair using the brush tool. Learning to manage the brush tool is a pretty important step in this tutorial on changing hair color using photoshop.
To bring back the perfect shade, we use the brush tool to paint white on the layer mask of our hair.
Where we use the brush and paint white, the places get back the shade we had selected in the HUE/ SATURATION dialogue box. The places we leave black, keep the effects hidden. Getting to the brush tool is easy. It can be reached by pressing B on your keyboard. Once the brush tool is available comes the tricky part.
PAINTING THE HAIR WHITE
Armed with our brush tool, we get into the most vital phase of our tutorial on changing hair color using photoshop. All we need to do is carefully painted white over the hair. It is time-consuming and tough to do, but we must keep patience. As white has already been set as our foreground color, we are steadily advancing towards the results. You can change the brush size to reach out to different strands of hair using your keyboard’s left and right bracket keys.
To soften your brush and its bristles for tricky parts, press down on your shift key and keep holding your left bracket key. Hence, the brush becomes soft and manageable. You keep on coloring your hair. For loose strands of hair sticking up, it is preferred to lower the opacity of the brush to 25% from the options bar. Then reduce the size of the brush; this keeps a check on the intensity of the color in those tricky areas.
CHANGING THE BLEND AND MAKING IT SOFTER
Extensive work with the brush tool has finally changed our hair color by photoshop. Now, it’s time for some fine-tuning of features. This is done by selecting the blend mode from the Adjustment layer. By default, the blend mode is set to “NORMAL.” We need to alter it to make fine adjustments. This works reasonably well, as we can select several colors and effects from the blend mode option in the top-right direction of the dialogue box. The “COLOR” gives us a better edge, as it changes the color of the image and adjusts the tonality and the blend. It gives us a colorizing effect on our image, which adds up to the value.
ADJUSTING THE OPACITY AND ALTERING THE SETTINGS
Here, we are done with the tutorial on how to change hair color using photoshop. Still, if you feel like being more creative and doing something different and creative, you can go back to the HUE/SATURATION dialogue box from the layer’s palette. We can readjust the slider and still make slight changes to get good at details and be minute. We can also change the opacity to give the image its final golden touch.
OUTLOOK-
Here we come to the end of our tutorial on how to change hair color using photoshop. This is quite a versatile technique and effective. If you have been thorough along all of the steps, you get to see how easy it is. Learn and play along with effects and your photos now.