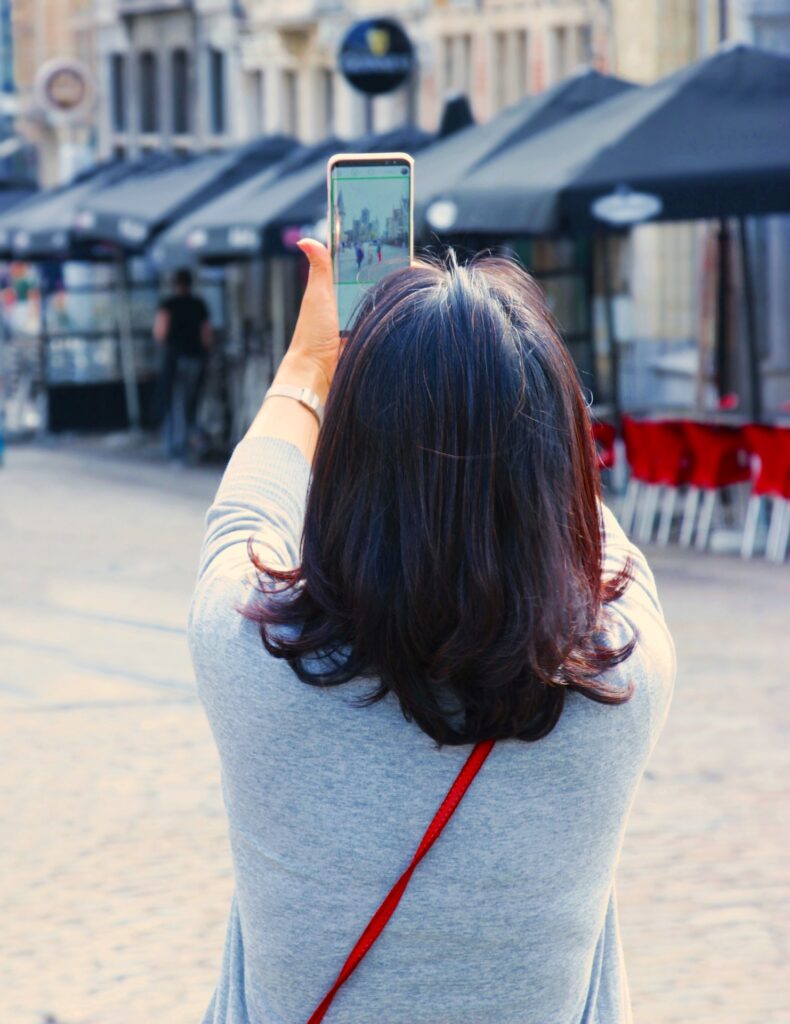
iPhone photography has evolved into a new level of photography. No longer limited to snapping photos using the camera built into the iPhone, users are able to take high-quality photographs that look like professional cameras. However, this isn’t a “one size fits all” type of photography. In fact, it’s more of a method of expression than anything else. Read the whole article, and you will get to know iPhone photography tips. And how you can take better images from your iPhone quickly!
iPhone photography is digital photography without an SLR camera and lens. Instead, it is a new way to take landscape and memorable shots with your iPhone. The best way to take an iPhone photograph is to create a composition by using the optical viewfinder, focusing on one subject, and taking several shots while moving the camera back and forth between the subjects. This technique will result in some of the most striking iPhone photography you’ve ever seen.

iPhone Photography Tips For iPhone Users
What’s the critical thing to upgrade your iPhone photography skills? However, photography is not an easy task at all. Many people do courses and learn for years to grasp professional photography techniques. But here we are, helping with some straightforward methods. All you need is an iPhone to make your image more beautiful. In this article throughout, you’ll find out tips and tricks to make a perfect shot using some of these easy techniques. Read the whole article, and you will get to know how you can take better images from your iPhone quickly!
1)Keep your photo simple
Do you want to understand how to take truly unique pics with your iPhone? Begin with the easiest way of maintaining your image style simple. Too many details distract the viewer. Complicated editing images makes it difficult to create an image that catches your attention. One exciting concern is all you need to take a good picture. It’s become to create a strong composition if you focus on only one subject instead of multiple editing and end up overdoing it. It would be best to consider taking a look at the background for any distracting factors that can ruin your shot before capturing an image.

2)Use the volume button to capture photos
Shaking your iPhone is one of the greatest enemies in the way of taking good pictures. If it will happen with you while capturing an image, it’s undoubtedly going to increase your image’s blurriness. While taking a selfie, everyone finds it hard to click on the camera button as it required your hand to be outstretched. You can solve this problem using the volume button present at the side of your iPhone. Using the volume button instead of the camera shutter button is the most convenient way to capture a selfie, mostly in landscape mode.
3)Capture an image from the lower angel
Using lower angles to capture an image is generally consider an extra innovative alternative for taking terrific photos. It is a better idea to take images from different angles to improve your picture clarity, having different perspectives. The most comfortable way to enhance your images is to shoot from a lower angle. By capturing an image from a longer angel, your photo can be more intriguing. Taking pictures from a lower angle shows your subject clearly to all with anything available in the background. Shooting an image from a lower angle can be considered one of the best ways to eliminate the unwanted distractions in the background. It makes your image stand out of all pictures.

4)Post edit your image after capturing
This is closely related to exploring the opportunities given by third party editing applications. You can use various software to edit photos and add more effects to the image captured. They both offer a variety of filters that can customize your image. The editing application also makes it possible to adjust contrast, saturation, white balance, vignetting, and other useful things.
5)Use HDR mode for better image
Our eyes can perceive high-quality contrast scenes like the sunset, and we are so familiar with it that we don’t even pay attention. However, the iPhone camera (or other cameras) cannot register a tremendous dynamic luminosity range. So this HDR option helps you to save the day! HDR imaging or high dynamic range is a technique that allows the camera to capture the details in the dark and light photo area. To activate the HDR option, you must open the camera app and click on “HDR” in the screen’s upper left corner.

What Else We Get In iPhone photography
One technique that you’ll find in iPhone photography that creating outstanding images is called the 3D effect. It consists of taking a single image and zooming it (either vertically or horizontally) so you can get the full effect of a large scene. In general, this is achieved with a combination of either the depth sensor of your iPhone, or the optical zoom feature, and iPhone photography tips tell us to always focus directly on the subject. If you need to take a close up photo of something, you can use the optical zoom feature instead. To achieve a wider shot, however, you’ll want to keep your eye on the horizon and only focus when necessary.
Another common iPhone photography tip involves iPhone photography tips regarding the positioning of your camera. The rule of thirds tells us that we should center our subjects in the frame. Now, there are a few exceptions to this rule, such as when taking landscape photos where it would be more convenient to have the camera at the eye level. For the most part, though, your iPhone’s main optical axis should be in the middle of the frame, with your lens pointing out towards the subject. This ensures that the object is in the center of the picture, giving it a real, crisp, and image-worthy quality.

Here I’ll show you a great trick to get the best possible shot. I’m not talking about shooting from the hip but about taking photographs of people at the right place.
- You can tell someone’s opinion of you by the way they look at you, so make sure you position yourself to their best view.
- If you’re standing too far away, you won’t be able to capture their attention, and if you’re too close, they’ll simply turn around and look at someone else.
- To get this right place, always stand at least three feet away from the subject, lean forward slightly, and point your camera at their eyes with the lens directly in front of it.
- Photography that tells you to snap the most pictures possible in the shortest amount of time is usually not very good.
- If you want to snap as many images as you possibly can, remember to compose the picture in a way that the focal point is clear. By clear, I mean the object and everything surrounding it should be focused on.
- If the background is distracting, or the colors on the subject are off, your pictures will lack clarity, and they’ll lack realism, as well.
- The iPhone’s motorized zoom feature can help with this; it can also make it easier to compose shots because you have a much wider range of options for the size and color of the background.
Stay Patient
iPhone photography tips tell you to be patient and not expect to have as many great shots as you might with a regular camera. It’s just the nature of taking photos with an iPhone, though. If you think about the limitations of a smartphone, you might realize that these aren’t actually limitations, but features. Instead of waiting around for that perfect shot, you can simply move the iPhone closer to the subject of your choice and then snap the image. You can then share it with friends and family, and you’ll never have to say you got the best shot ever taken with any other smartphone.

Conclusion
iPhone photography is a widespread and growing skill in 2021. It becomes more famous just after the launching of the most recent update product releases by Apple. Whether you have the current models iPhone or one of the old editions, the most important thing is that you are capturing the images from your iPhone. Despite everything, it is the most convenient way. In reality, you need to pull your iPhone out of your pocket to click a picture. You don’t require to carry a heavy camera and its bag and your essentials while going anywhere. Your iPhone will work as one of the finest cameras if you adapt the techniques and methods mentioned above, and above all, Your iPhone can work as one of the finest cameras you are ever looking for

