
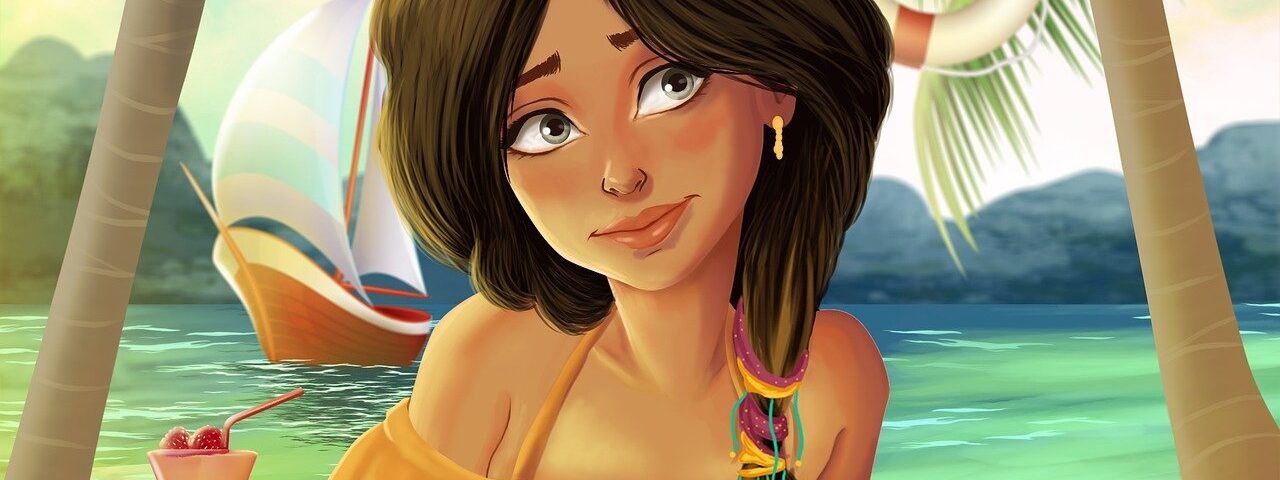
Learning how to turn photographs into illustrations is a fun and easy way to use photos to express yourself. Why not turn your photos into gorgeous works of art?
There are lots of ways to turn your favorite pictures into wonderful images that you can print out and give as gifts. Turn your most memorable moments into gorgeous works of art with these handy tips. They’re sure to bring smiles to faces all over.
Use your Digital Camera’s Built-in Photo Tools
If you’re a hobbyist, then you can make use of your digital camera’s built-in photo tools to turn your photos into excellent illustrations. You might need to experiment a bit to get the effect just right. But once you’ve mastered it, you can turn your photos into works of art.
Start out by using the camera’s crop and focus tools to make sure the images you want to include in your work of art are sharp and well-colored. If you’re working with a relatively large photo, you’ll have to enlarge the image. Which could take a while if you’re just starting out.
After the photos are perfectly focused and ready, you can start off with the drawing tools on your Photoshop interface. Make use of the pen tool to draw the image you’ve captured onto your monitor. Remember to always zoom in when you’re drawing, so you won’t be cutting out the critical parts of the photo.
Go For Some Touchups
If the photos you’ve taken aren’t quite as crisp as you’d like, you may have to go in for some touchups. This can be done in one of two ways: either by restoring the original photos to their original quality or by editing the pictures to remove all unnecessary objects. To do either of these procedures, you’ll need to go to the photo control panel and click on the image menu.
Under the image menu, choose ‘restore’ and put in the details of the photos you’re going to replace. This will make them as good as new. And you can select the colors you want to have edited in from the color options in Photoshop.
You can also edit your photos and turn them into illustrations by cropping them (changing the size of an object so that it is no longer recognizable). Or enhancing the photos using filters, sharpeners, and other tools.
If you’re a photographer, you know how difficult it can be to bring about changes in a picture without completely altering it; unless, of course, you’re a professional photographer. If you’re an artist, it can be much easier to change photos and illustrations. Especially if you have enough time and skillset to do so.
Options for Non-Artist Personals
If you’re not an artist, the options you have for turning your photos and illustrations into prints are virtually endless. For example, there are calendars and greeting cards you can get that have your favorite pictures incorporated into them. There are also photo books and scrapbooks which have an assortment of your best photographs incorporated into the cover pages.
Even the most simple photos and illustrations can go on to become great posters, wall hangings, and other wall art because you have the right tools for doing so. If you have a printer, you could print out several copies of a particular illustration and have them framed so that they will have a gorgeous home when you hang them in your own home.
If you’re creative enough, you could even turn photos and illustrations into paintings if you wanted to. You’ll need a few brushes, some paint, paper, and a pencil; and you’ll need a couple of hours in front of your computer if you want to turn your photos and illustrations into real works of art.
If you’re trying to learn how to turn photos into paintings. The first thing you should do is take a look at some tutorials online to help you prepare your brushes, paint, and paper. It might also be helpful to purchase some instructional books that teach you how to paint with different techniques and mediums. You’ll find that once you get a feel for working with photos and illustrations, painting isn’t as difficult as you might think.
Steps to Turn Photos Into Illustrations in PicMonkey
We as a whole realize your photos are masterpieces, however, have you at any point wished they looked more realistic? Not so much photographic but rather more illustrative? Not exact, but rather illustrational? PicMonkey has the devices and photograph impacts to make your picture seem as though it has a place on the mass of a craftsmanship display. We should begin!
Start with the correct picture
This procedure works distinctively with various kinds of pictures. We would propose adhering to pictures that are somewhat on the hazier side as well as have a high difference. Lighter pictures have a propensity of watching cleaned out. Finally, adhere to an image that is not very wealthy in detail, since an excessive number of subtleties can wind up looking sloppy. Look at our immense range of stock photographs to locate an incredible shot to work with.
Follow the lines in your picture with Edge Sketch
The Edge Sketch apparatus makes your photos appear as though they’ve been followed over in pencil. In the event that your photograph isn’t changing greatly with Edge Sketch. Go at increasing the difference first: go to Edits > Basic Edits > Exposure.
From the PicMonkey Editor, click the Effects tab and look down to Edge Sketch (in the Artsy impact gathering).
Turn your Thickness and Level of detail sliders as far as possible up to catch the most extreme measure of detail.
Change your Fade slider about halfway so a portion of the shadings returns into the picture and afterward click Apply.
Add a painted vibe with Posterize
Then, adding the Posterize impact diminishes the number of shadings in your picture and relaxes out the subtleties so your picture seems as though it’s been painted.
The Posterize impact is strategically placed likewise in the Artsy gathering.
Change your Number of shadings slider up to in any event 15. (Try not to be concerned if your image actually watches cleaned out. At the point when we change the openness in the following stage, it’ll bring the tones back.)
Change your Level of detail slider so that it’s someplace in the center. This will keep the vast majority of your detail flawless while mellowing out a portion of the lines. This makes your picture look more “drawn.”
Once more, change the Fade slider about halfway, and afterward, click Apply.
Welcome on the tone with Exposure and Colors
At last, changing your picture’s openness will bring back the ones that have been quieted by different impacts.
Open the Edits board from the Edits tab. Snap-on Exposure.
Every photograph is extraordinary, so mess with the sliders until they look right to you.
At the point when you’re totally done, click Apply.
Rehash a similar cycle with the Colors tab under Basic Edits, changing the sliders until you see you are content with them.
In Conclusion
The most important thing that you should do if you want to learn how to turn photos into illustrations is to have patience. Even if you want to turn your photos into a portrait, it doesn’t mean that you have to be a professional artist just yet. If you don’t have any artistic talent but still want to learn how to turn photos into works of art, you could purchase some instructional books at a local bookstore or online. Just take your time and be patient.