

How to lighten shadows in Photoshop: Shockingly, “How to lighten shadows in Photoshop” is the most posed inquiry these days. Thus, here in this article, I will examine the definite solution to this inquiry. Photographs with shadows are a phenomenal strategy for adding genuineness and naturalism to the picture.
Also, they for the most part redesign the pictures’ significance and exquisite feel, regardless of the shot’s style. Nonetheless, it is likewise a reality that assuming the shadow is brutal and disturbing for the watcher, it may not commonly be a respectable piece of the picture.
The most effective method to lighten shadows in Photoshop:
Shadows could flawlessly overhaul your photographs. They give setting and interest. Nonetheless, they could likewise be aggravating or absurdly outrageous. I’ll tell you the best way to lighten shadows in Photoshop in this instructional exercise. Frightening shades can obliterate an image.
Fortunately, it’s not difficult to discard irksome shadows in Photoshop and make them disappear. Here, you will find three techniques for shadow expulsion in Photoshop.
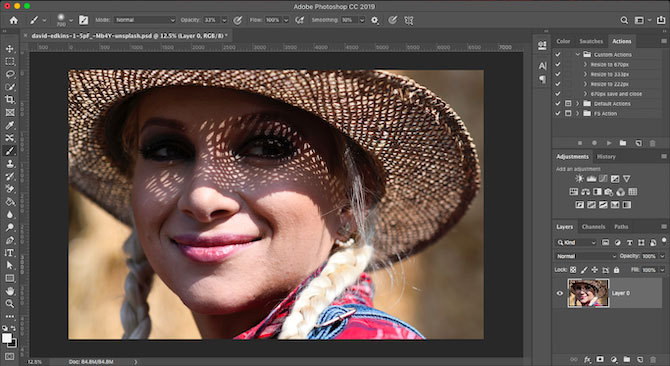
Photoshop eases up shadows on the face.
In a studio, you have some command over where the light falls. However, in the street and travel photography, the light some of the time falls awkwardly across someone’s face or body. While eliminating or decreasing shadows across a face, you’ll require a point-by-point device and a lot of determination. There are two techniques to lighten shadows on the face.
At the point when you really want more command over what you do while eliminating shadows from photographs, the Clone Stamp apparatus in Photoshop is obviously appropriate for it. Another clear strategy for diminishing brutal shadows is the Photoshop Changes Layer. I’ll show you the two methods for eliminating brutal shadows from faces in Photoshop.
Open and copy the foundation
Right-click on the foundation layer by opening the picture. (Ctrl or J) Select Copy Layer.
Pick the Clone Stamp Apparatus.
In the toolbar on the left, select Clone Stamp. It has an elastic stamp appearance. Select a medium-sized, delicate brush. In view of its smooth edges, a delicate brush will make the best results. Using the section keys will work on it to adjust the brush size.
It will decrease the size of your brush. [] will make your brush more exceptional. You can set the Clone device’s Obscurity to around half assuming you’re attempting to diminish shadows as opposed to discarding them.
Discard the Shadows in the Picture.
Start painting the shadow you really want to discard while centering closer. You would need to shift back and forth between Stages 3 and 4. Pick pixels for the most part like the ones you are overriding concerning content and variety.
Fix the activity by choosing Edit>Undo Clone Stamp (Ctrl or Z) in the event that you could manage without the outcome.